Creating a Mudroom Part 1: Demo
Creating the Space
With leaves constantly getting trampled into the house by the kids, creating a mudroom was essential. However, we had no space…so where could we put a mudroom? Our back entry had a pantry closet and some hooks. It was time to get a little creative, because living in Michigan, a mudroom is a necessity for winter. All that snow gear has to go somewhere!
It makes me think back to the very first year in our home. I can still picture my husband trying to come in the back door. As he tried to open the door, it would always get caught on the kids winter boots, jamming the door so he couldn’t get in. He would holler at me and I would have to come move the boots out of the way. The look of complete displeasure on his face, to say it nicely, still makes me laugh. He never did make it in that back door without help!
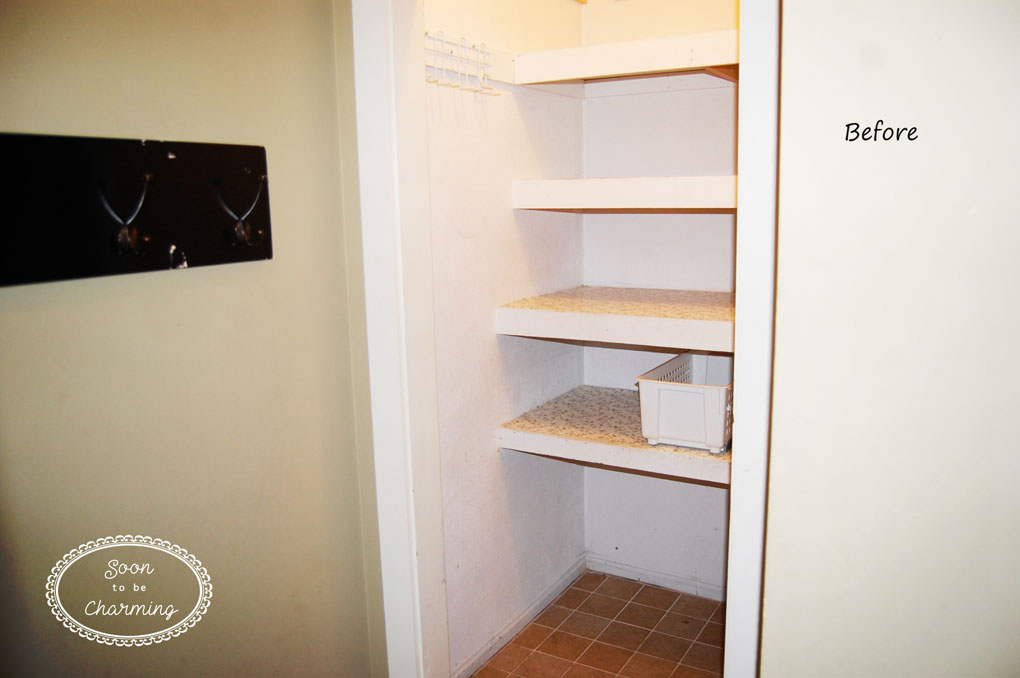
It wasn’t that our kids weren’t taking care of things….there literally was no place to put anything. Don’t believe me, look at the picture below.
(I apologize for the picture quality…these pictures were taken before my blog and in a tight space)

Demo
The space was really tight. So my dream mudroom with an enormous bench and lockers for each person was not an option. We needed to be creative and utilize every inch. The only spot we had to work with was a pantry closet across from the back door.
I know what you are thinking…you are crazy to take out a pantry. Yes, I was really torn about this decision, but ultimately it needed to go. The pantry was not very functional and wasted a lot of space. When it came down to it, we needed a mudroom more than a pantry.
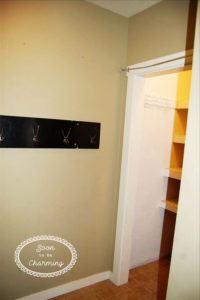
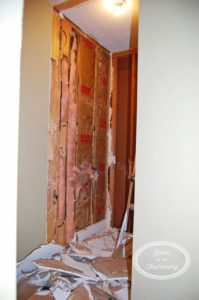
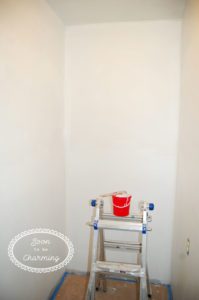
To create the space, we started by opening up the wall between the back landing and the pantry. It was amazing just by taking the small doorway out, it instantly made the space look bigger. The extremely high ceilings became a very noticeable feature. Beforehand, we never paid much attention to them.
Putting It Back Together
My husband is very handy and he was able to do all the demo and drywall himself. Hindsight he would have hired someone to mud, but hanging the drywall was easy. It just took him a little bit to get all the mud lines smoothed out.
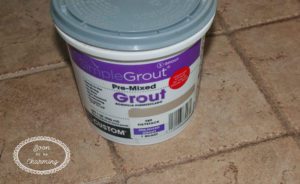
With the wall removed, it left missing tiles on the floor. Replacing all the tiles entered our mind, but to keep our reno budget down, we decided just to keep what was already there. Thankfully the previous owners had left extra tiles in the basement.
We borrowed a tile saw from a friend and replaced the missing tiles. We picked up some pre-mixed grout at Lowes to match the existing grout. My husband impressed me, you could not tell what tiles were replaced and what tiles were originally here! The tile patch was seamless.
Design
It was time to finalize the design of our mudroom. I looked online for ideas, but with such a tight space it eliminated a lot of options. The width was only 3’8”; however, the ceilings were almost 9 feet high, so I really wanted to utilize the height with storage.
We finally figured out a design that would look great, but was very functional as well. The tall tower unit would go along the back wall, which would give the space depth. Then along the side we wanted a narrow bench for more seating.
Nothing store bought would fit since it was such a narrow space, so we hired a friend who owns a wood shop to make a custom piece for us.
For the design, we had a few meetings with our carpenter to go over the details. Once the layout was finalized, we discussed the style of the cabinet doors, the backing of the tower unit and the number of drawers. As he was building the unit, we stopped by his shop a few times to see the progress. Then in a blink, we needed to pick out the color so he could finish.
Paint
The hardest decision was picking out the paint color. I am a full believer in paint samples…I bought 2 different paint samples and put them up on the drywall. Looking at them, I struggled. I called for reinforcement and had my sister-in-law come over to give me another opinion. She agreed that I needed to get a few more samples to try.
For me, this is what I figured out about paint; when it’s the right color you know it right away. If I leave a paint sample up for a few days and still can’t decide…it’s not the right color. It’s like I kept trying to convince myself the color would work (maybe sometimes it does), but my first instincts are normally right when I fall in love with a color. If I hesitate, I should try something else.
A few days later I put up more samples and instantly found the color I wanted. I chose Nimbus by Benjamin Moore. I wanted something neutral, but not blah and it was the perfect light gray.
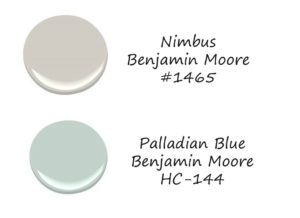
With the color of the tower unit decided, it was now time to paint the other walls in the mudroom. With three kids, I wanted the mudroom to be a fun and functional place for everyone. It didn’t take me long to decide on Palladian Blue by Benjamin Moore. I did have it mixed at another store and it turned out a little greener than the swatch. I liked the color, so I ended up keeping it. However, just keep that in mind as you get paint. If you want the exact color, it is best to get your paint mixed where the swatch is originally from.
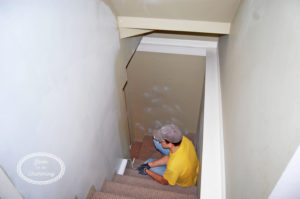
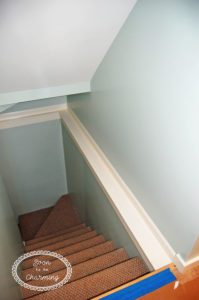
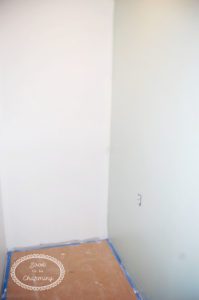
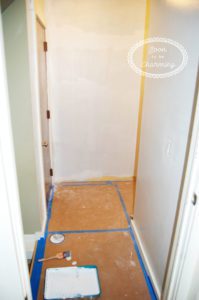
Painting was in full process. Primer was on and then two coats of color. Below, we did not paint the back wall because the tower unit would cover it.
Feature Wall
I love pallet walls and so we decided to add a pallet wall in the mudroom. In part 2 next week, I will go over all the steps from getting the boards to installing our pallet wall, along with the final reveal. So stay tuned!
Click Here for Part 2 of Creating a Mudroom: Pallet Wall
Thanks so much for checking out my post!


Great blog post! Your explanations are well written and the pictures really tell the story. I had totally forgotten how it looked before the make over. Can’t wait for the next post! (Thanks for including the paint colors too ;))
Thanks Julie! Yes, it was terrible before the renovation…absolutely no space. Now it is one of my favorites spots in our house!