DIY Chore Sticks
We’ve all been there, your walking across the room when suddenly this incredibly sharp pain begins coming from your foot. You look down to see a lego piece, a toy pony, or fill in the blank. If you have kids, you are well aware of the constant battle of picking up toys. At our house, we require our kids to help around the house. However, we have never really called them chores or assigned our kids a task on a consistent basis. It is something my husband and I have talked about before….I even bought chore boards one time, but the dry erase boards got wiped off every time the kids walked past them. Since my husband was never a big fan of the boards, instead of moving them…we decided to try something different. After looking at several different ideas, chore sticks looked like the best fit for our family.
This post contains affiliate links, which means if you click on or make a purchase I may receive a small commission at no extra charge to you.
Making Chore Sticks
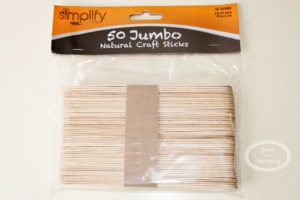
To start, I went to the dollar store and picked up some jumbo craft sticks.
Color Coding Your Chore Sticks
Once I bought the craft sticks, I wanted to color code them for each child. Having three kids, I chose three different colors.
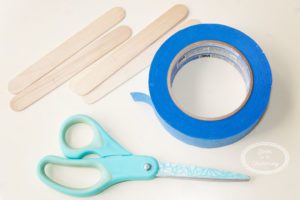
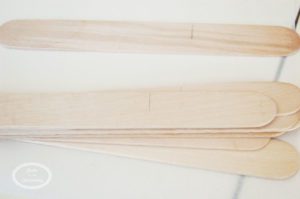
First, I grabbed some scissors, painters tape and a pencil. I marked each stick around 2 inches, then put a piece of tape around each stick.
My little design assistant and I were now ready to paint!
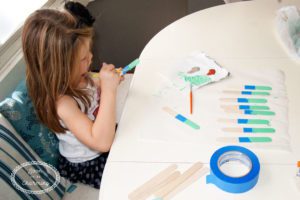
We finished painting all the green sticks and I was afraid they were a little too green. My design assistant agreed, and we mixed a little blue into the paint to turn it teal. We quickly put a new coat of teal over the green and it looked much better.
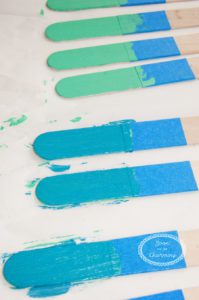
The rest of the sticks were painted with metallic paint and turned out great.
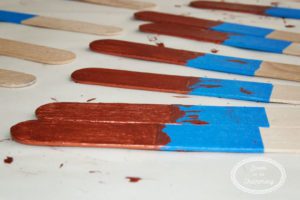
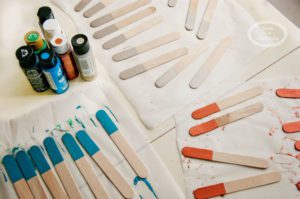
Once all the paint was dry, we pulled off the tape. At this point, you could write your chores on the sticks and move on. However, I was not a big fan of how the sharpie looked on the sticks…so I took them one step further.
Chalk Paint
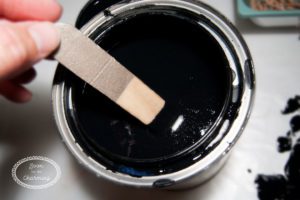
To finish the sticks, I dipped them all in chalk paint.
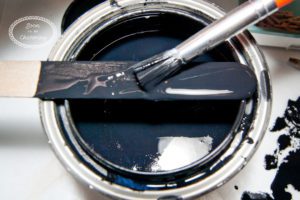
I brushed off the extra paint and hung them up to dry.
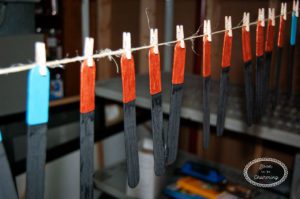
Deciding On The Chores and Process
Now that the sticks are finished, it is time to figure out the chores you want your kids to do. My husband and I talked this part over and came up with two lists. One list had chores we wanted the kids to do everyday. The second list had chores they would do once a week.

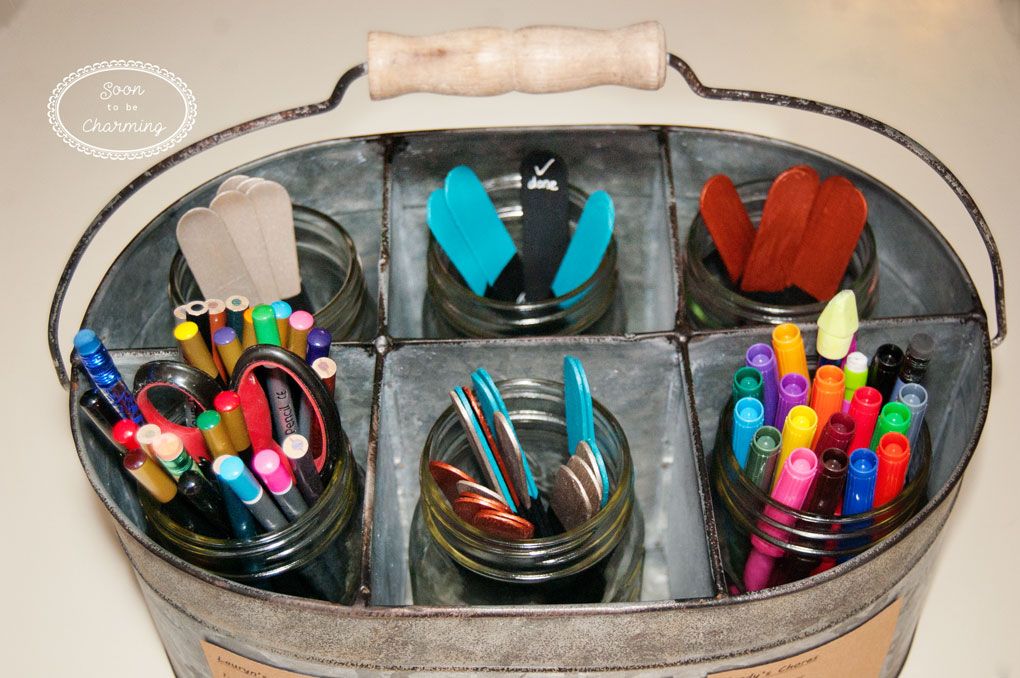
We debated about the process for a while, but decided to try doing it this way. The kids would each have a jar with their everyday chores in them. In addition to their everyday chores, they would pick one weekly chore also (every day except Sunday). When the chore was completed they would flip the stick over, which says done.
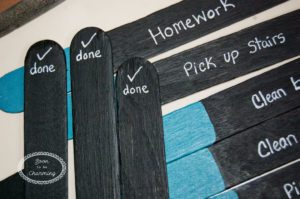
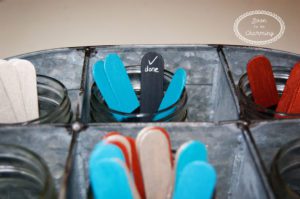
For the weekly chores, we numbered the sticks 1-6.
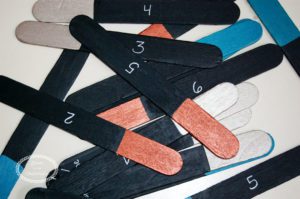
The numbers coordinate with a chore list that we put on the front of the caddy.
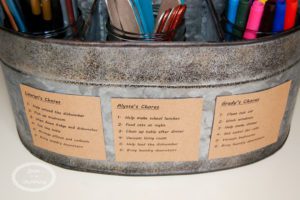
Numbering the sticks instead of writing the chores on them will allow us the flexibility to change the list more often. The chores during the summer might be different than the winter. Also as our youngest gets older, her chores will change. We felt that this would allow the system to grow with our kids.
Where To Your Chore Sticks?
I wanted them somewhere easily accessible, so I chose the table in our kitchen. I found a metal caddy to put everything in, plus it had space for pencils and markers too. A little bonus homework station.
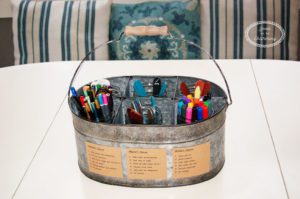
We may need to make adjustments along the way, but feel like we have a solid system to begin. The ultimate goal is to relieve our frustration and teach our kids responsibility. I would love to hear what works for you! Send me a comment with your tips.
Want to make chore sticks, but can’t go to the store! Check out these items: Craft Sticks, Metal Caddy
Thanks for checking out my post!
