DIY Industrial Shelves
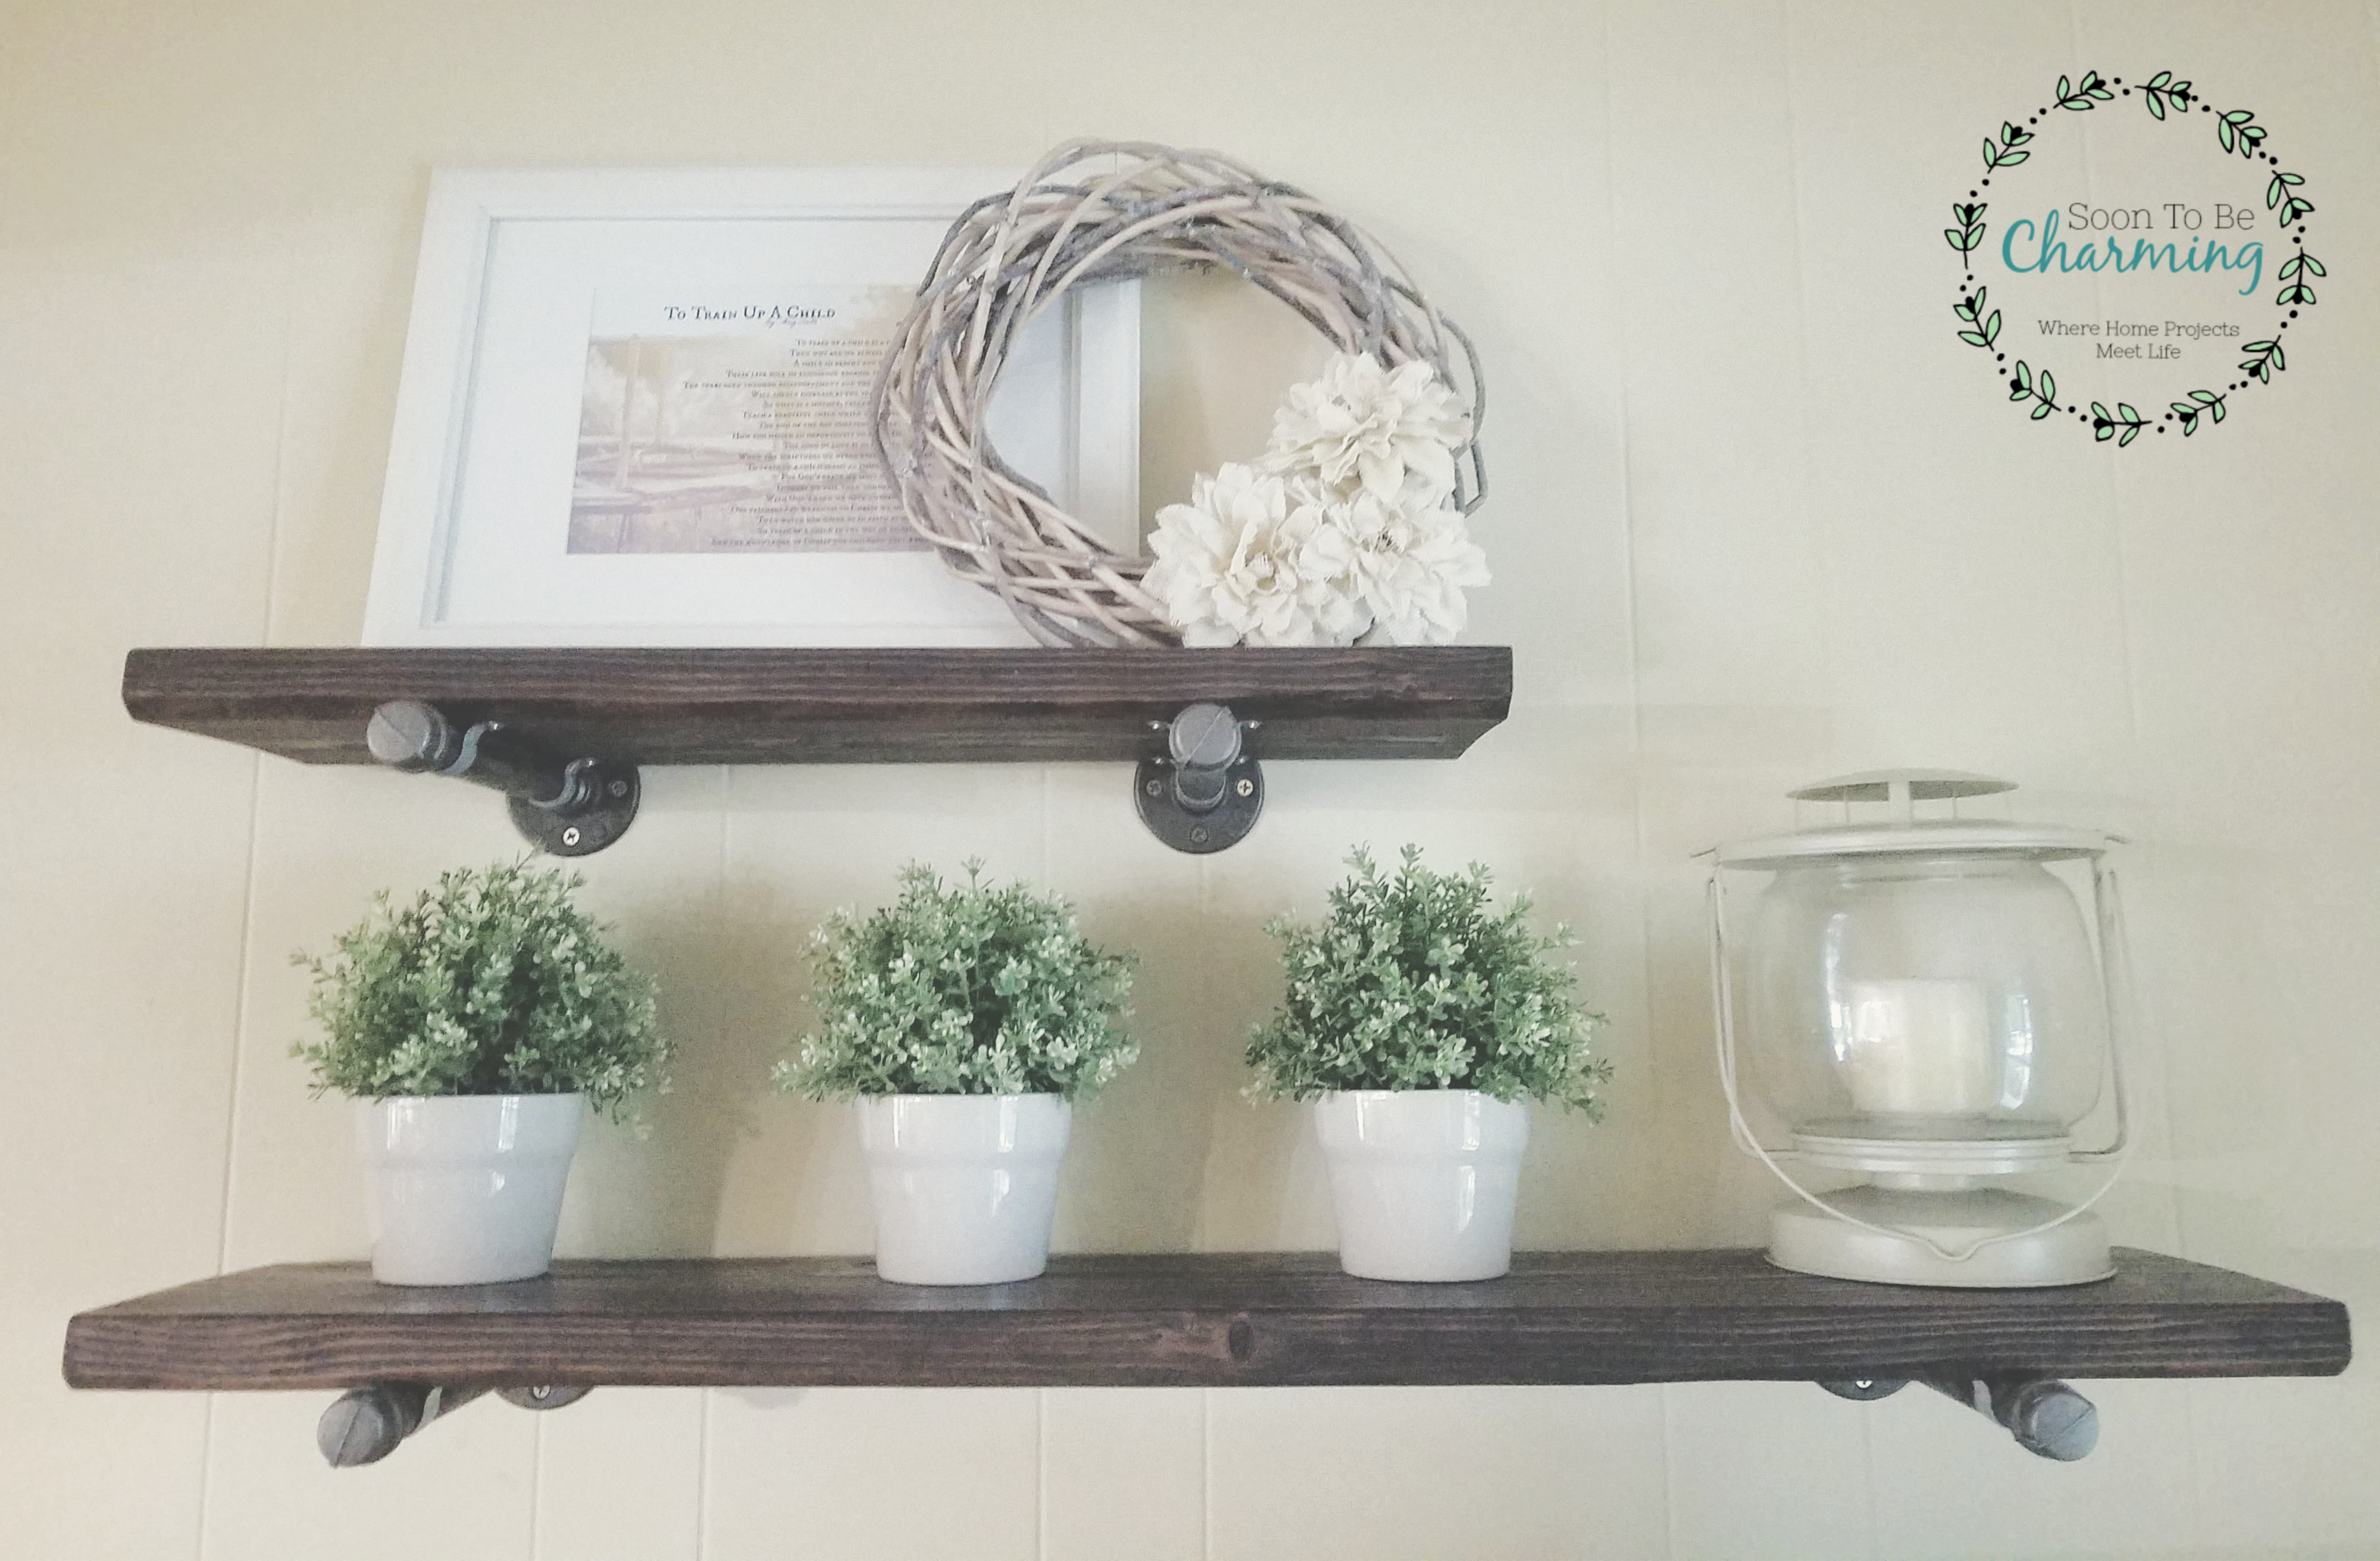
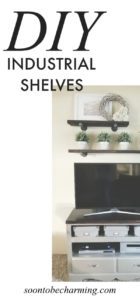
I love industrial pieces! My house is definitely more traditional, but I love to add a little farmhouse and industrial style to it. A few years ago, I wanted some shelving above our t.v. stand and decided to ask my husband if we could make some industrial shelving.
Let me tell you…my husband taught me all kinds of things about flanges, etc…but most of all I learned how easy it was to make these type of shelves. They look amazing and are incredibly heavy duty!
This post contains affiliate links, which means if you click on or make a purchase I may receive a small commission at no cost to you.
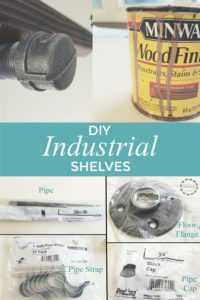
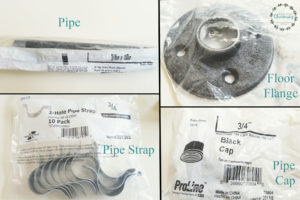
What You Will Need
2- Floor Flanges
2- Threaded Galvanized Pipe Sections
4- Galvanized Pipe Straps
2- Pipe Caps
Board
Sandpaper
Stain
Level
Saw (or have your boards cut to length at the hardware store)
Drill/Screwdriver
Getting Wood
Start by deciding what size shelves you want. Buy a board for the depth you want and then cut it to meet the desired length. We bought a board 2 X 10 X 8, but you can buy boards longer or shorter depending on how much wood you need!
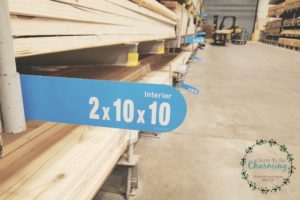
We also chose boards that were a little beat up. I think boards with the edges all dinged up give the shelves more character. So depending on your style, you could do the same or if you prefer cleaner lines then choose boards that have clean edges.
Hardware
You will find all of your hardware in the plumbing section of your hardware store. The supplies are listed above, but you will have to choose the length and size of your pipe based on the size of your shelves.
The length of your pipe should be about the same depth as your board. To check it, once you thread the pipe into the flange and the pipe cap, it should be just longer than the depth of your shelf. You can measure it, or if you are more visual…bring the wood over to the plumbing section and hold the different pipe lengths up to see what looks best!
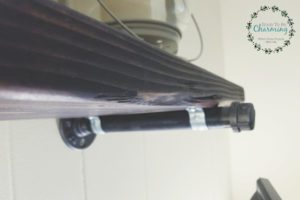
Once you have everything purchased, it is time to work on the wood.
Sanding and Stain
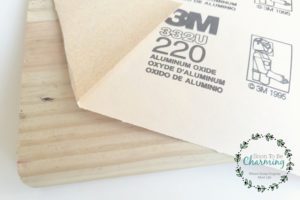
Before the stain, you will want to lightly sand the shelves.
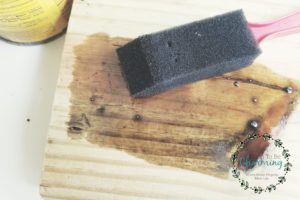
My husband and I had refinished my childhood dresser and turned it into our t.v. stand, so we already had a stain picked out. To tie it together, we used the same stain from the top of the T.V. stand on the shelves. It is Special Walnut by Miniwax. We love the color, it is the perfect rich dark brown. You can tell our can is well loved!
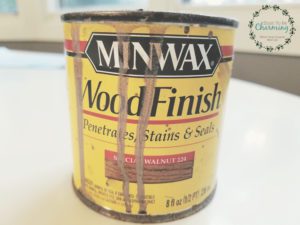
For the best results, allows follow the instructions on your can of stain. We applied the stain with a foam brush, let it soak and then wiped it off with a rag. We used two coats of stain to get the color we wanted.
Constructing and Hanging the Shelves
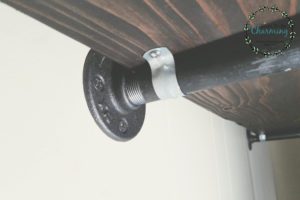
Once your shelves are stained and dried, you will be ready to attach the hardware. To start, thread the pipe into the flange and then attach it to the wood with your pipe straps.
We have a mixture of fixtures in our home, so we felt the difference on the hardware was fine. If you really wanted the hardware to all be dark, you could spray paint them. I believe they also have copper pipe straps.
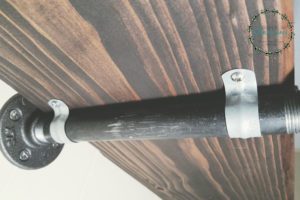
Grab the drill and your level to attach the shelves to the wall.
Tip:
Buy screws to match the finish of the flange so they blend in. Also to put the shelves up, make sure to screw them into studs. The spacing of the studs is something to consider when figuring out the length of your shelves. Typical studs are 16 inches apart.
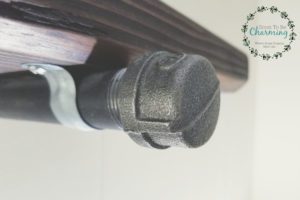
If you haven’t attached your pipe caps yet, you can thread them on now.
Final Touches
Now add the final touches and enjoy your beautiful shelves!
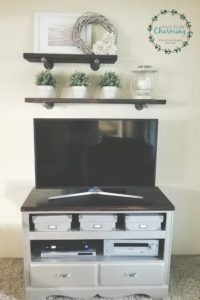
Want the exact dimensions of our shelves, well here they are:
Top Shelf
Depth- 8 3/4 inches
Length- 28 inches
Thickness- 1 1/2 inches
Bottom Shelf
Depth- 8 3/4 inches
Length- 45 inches
Thickness- 1 1/2 inches
*The boards we bought were 2 X 10, but they always measure smaller than the nominal size (size listed in the store)
Pipe
Length- 10 inches
Size- 3/4 inch
Pipe Caps- 3/4 inch
Pipe Straps- 3/4 inch
Get Ready For Your Project!
I love changing the decor out every season. Plus the shelves add nice height over the t.v. stand. If you love this look, you have to try this project…they are so easy to make! Have you done projects using pipe? I would love to hear about it in the comments!
Thanks for checking out my post!

Pin For Later!!
