Easy Backsplash Update
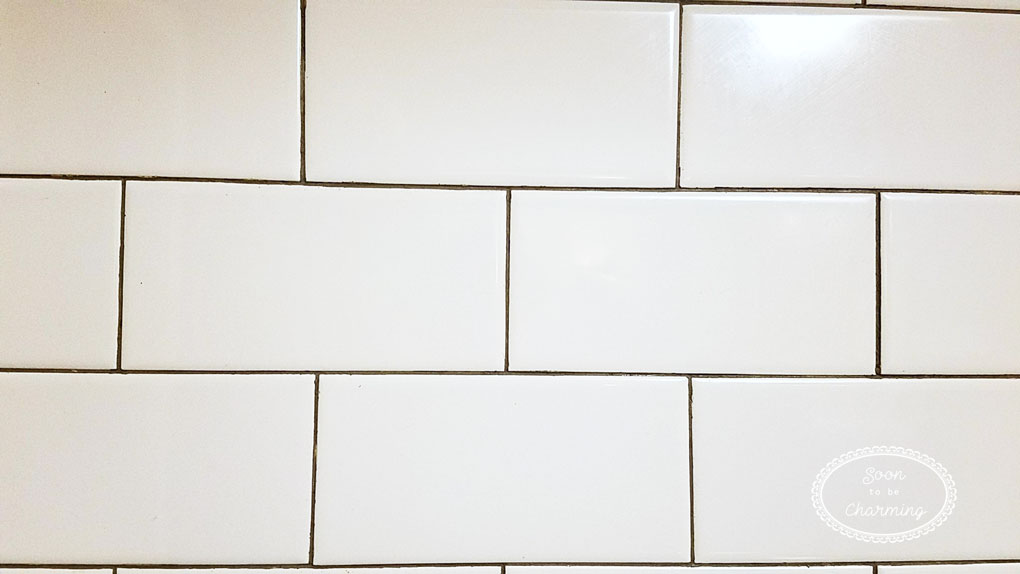
I love subway tile. So naturally I was thrilled when we moved into our house and it already had subway tile in the kitchen. The grout was white and a little stained, but I didn’t give it much thought at first. As the months went on, the discolored grout bothered me. Also, the subway tiles I loved so dearly, just looked blah. I needed to update my backsplash!
{This post may contain affiliate links. I will be compensated when a purchase is made through these links at no cost to you.}
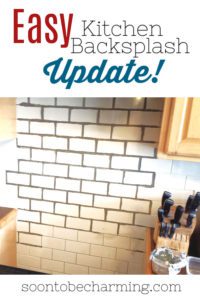
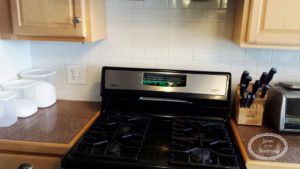
I found a few tutorials on how to clean the grout and then I came across something amazing….grout colorant! To date, this is one of my favorite transformations in our house. Below I will take you through the step by step process of what I did. ( *don’t mind the broken oven, the circuit board melted while my husband was boiling sap…new oven for me!)
Step 1: Cleaning the Grout
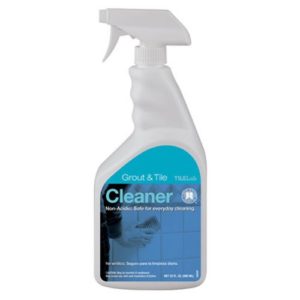
Step one is to clean the grout. I bought a specific cleaner for grout and tile at a local home improvement store. Click Here to check out the grout and tile cleaner.
Step 2: Remove the Outlet Plates
You will need to prepare the area by removing all the outlet plates.
Step 3: Colorant
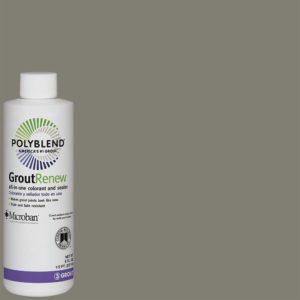
Told you this would be easy. I went to Home Depot and picked up some Grout Renew all in one colorant and sealer. Dark gray grout is my favorite, so I picked the color Natural Gray. Want colorant too….click Here.
I poured a small amount of colorant in a container. My husband pulled the oven out since it was broken and when he did I realized the backsplash went all the way down to the floor. The perfect place to practice. At first I tried painting the colorant on with a very small brush and staying in the grout lines. It was really hard to keep a steady hand and make it look nice.
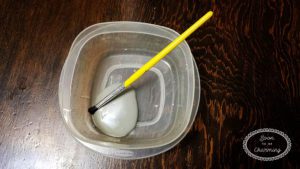
It worked much better with a bigger paintbrush. I covered the grout thoroughly.
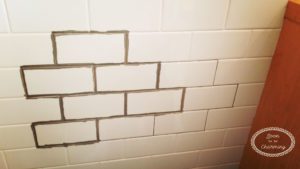
Then took a wet sponge and wiped the tiles off.
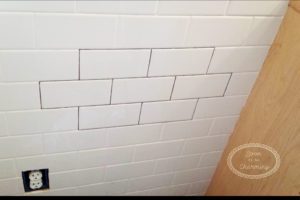
I continued doing little sections at a time. Yes, my back hurt and my wrist cramped….but I knew it would be worth it! At least that is what I kept telling myself.

It didn’t disappoint. Once it was all wiped off….it looked so good! No more blah. Plus, it was really cheap. Other than being a little time consuming…it cost less than $20.
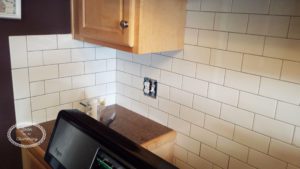
Adding gray grout not only updated the space, it changed the feel. I love industrial touches and by adding a GE slide in oven, along with the backsplash it made a huge difference.
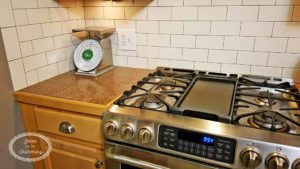
Down the road, I would love to redo the cabinets and replace the countertops….but one thing at a time. For now, I am loving my new backsplash.
Thanks for checking out my post!



What an amazing transformation! Love it! Thanks for sharing 🙂
Thanks so much Julie!
Hello!
I am a blogger over at Basically, Britain (basicallybritain.wordpress.com) and I have nominated you for the Sunshine Blogger Award!
The post with your nomination will be going live here in just a few minutes!
I hope you choose to participate and accept!
I have also subscribed to your blog! It’s great!
Thank you so much! I would love to accept!