Easy Burlap Banner
{This post may contain affiliate links, which means I may receive a commission if you click a link and/or purchase}
January is a tough month to decorate. All the Christmas decorations come down and you are left wondering what to put in it’s place?
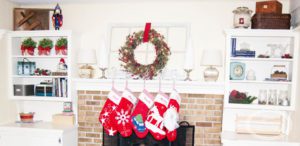
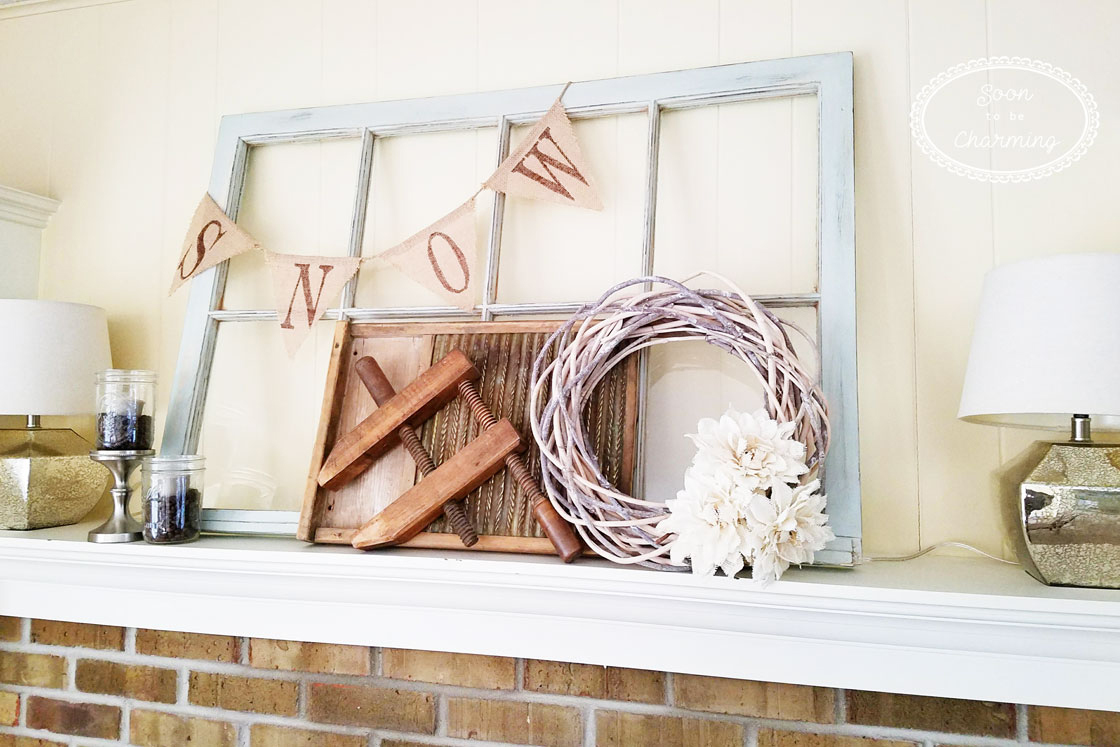
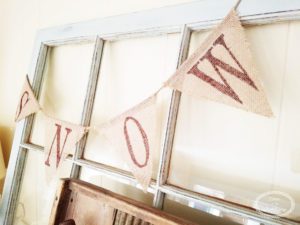
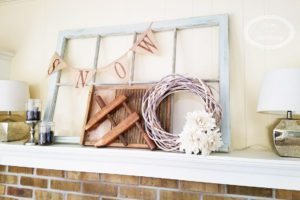
Just as much as I love pulling out bright red colors for Christmas, I love going back to more neutrals after the holiday’s. It just gives the living room and dining room a more peaceful feeling. I leave the distressed window up on the mantel and add some of my antique pieces. Since it is winter I wanted some of my decor to reflect that, so I decided to make a burlap banner. I chose to put the word snow on my banner…I do live in Michigan and well, we get tons of snow here! So it seemed fitting.
Making a Burlap Banner
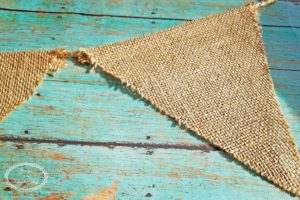
I started by picking up a pre-made burlap banner at Hobby Lobby. You could always make your own banner with burlap material and twine. However, with a coupon, buying a pre-made one is pretty inexpensive. The one I purchased was quite long, so I cut it up into several shorter banners.
Letters
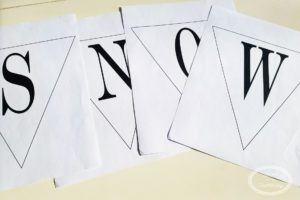
Next, I needed to find letters. While searching on Pinterest, I came across this great post with free letter printables. It was from the blog Shanty 2 Chic, CLICK HERE TO CHECK IT OUT!
I printed out the letters for the word snow.
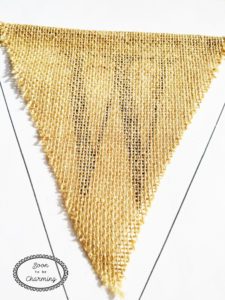
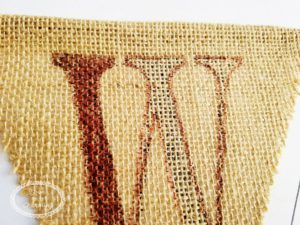
The beauty of burlap is you can see through it. You can place your burlap banner directly over the top of your letter and still see it!
I wanted my letters to be brown, so I picked up a fine tip brown sharpie and began tracing.
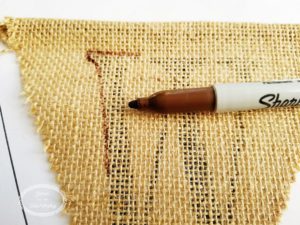
Continue tracing until the letter is complete.
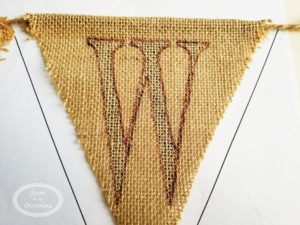
Then I filled the letter in.
One letter down, three to go!
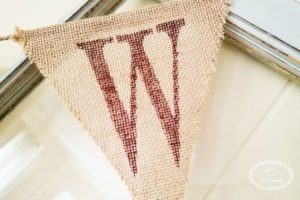
In a matter of 10 minutes, your banner will be done.
Such an easy project. Mix in some antiques, throw some white flowers in a wreath….the perfect winter decor!
Thanks for checking out my post!

Need some supplies? Check these out…


Pin It For Later!