How To Empty Your Gas Fireplace
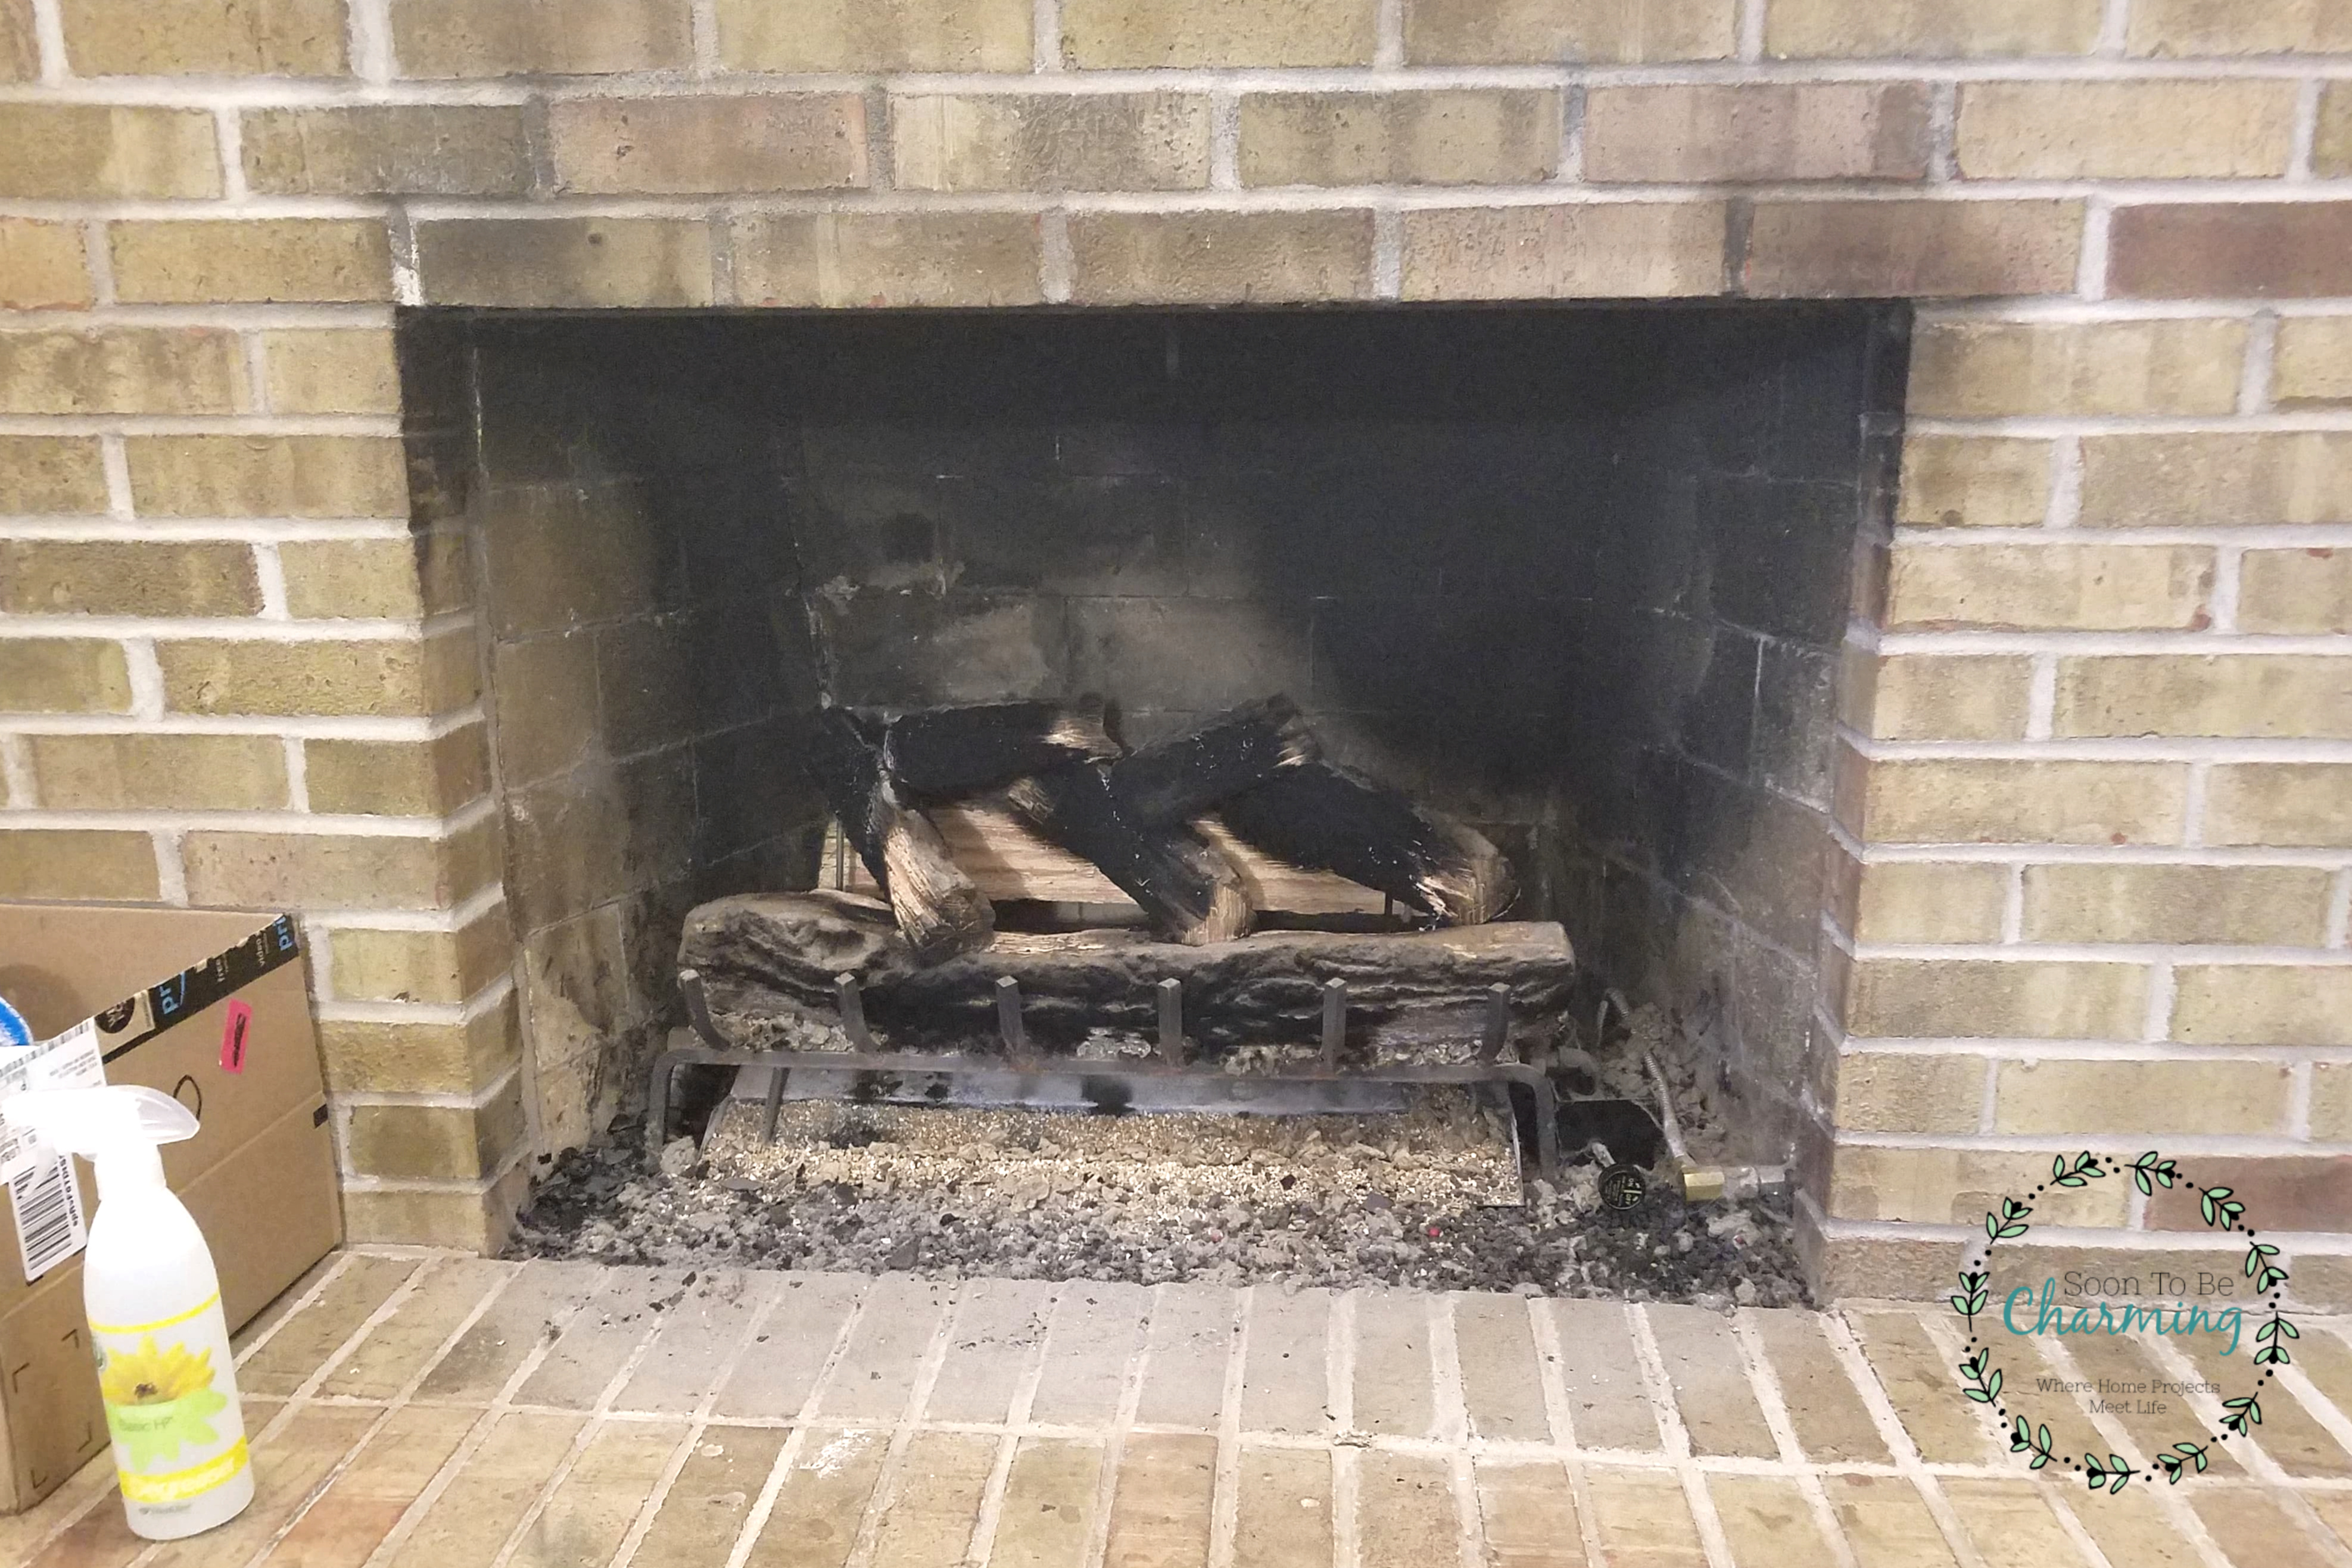
Snuggling up next to the fireplace, with a warm cup of hot cocoa, happens a lot in our home. We also love grabbing some pillows and reading on the floor in front of the fireplace. The sound of the fire flickering and the feeling of the heat on your back…nothing beat that on a cold snowy morning.
Towards the end of last winter, I began to notice a lot of soot build up in our fireplace. All of the fillings were also looking a little tired, yes fillings…because at that time I had no idea what anything was called. I thought it would be a great idea to pull everything apart and give our fireplace a deep clean. To help, I began doing some research.
I have to admit, the information out there was not as clear cut as I would have liked, but after watching an exhaustive number of videos I was able to piece it all together. To simplify the process, I have broken it down into three sections: empty the fireplace, clean the fireplace and thirdly, freshen up the fireplace. This post will tackle part 1 of the three sections.
*This post contains affiliate links, which means if you click on or make a purchase I may receive a small commission at no extra cost to you.
Empty the Fireplace
The first stage is to empty out the fireplace. Important: before removing anything, make sure to shut the gas off to your fireplace. I learned that our shut off valve was in the basement…it’s funny how I never noticed that handle in the ceiling before. Anyways, after you shut the gas off, don’t be alarmed if you smell a little gas when you unscrew the gas line, that is normal. If you are unsure how to do this or don’t feel comfortable doing it yourself, find a family member or friend to help.
Once the gas is off, you are ready to start emptying! Place a large drop cloth down to protect your carpet or flooring. It’s going to be really messy…so don’t skip this step!
Take a picture of your fireplace, so you know how your logs are stacked! **Don’t miss this step either, even with a picture make sure you can see which way every log is facing. I wish I would have taken a few more…but eventually I figured it out.
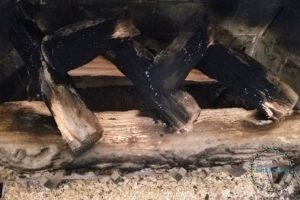
Now remove the logs and lay them on the plastic.
The logs were dusty with tons of soot on them! So gross!!
Once all the logs are out, unhook the grate from the gas line. I used an adjustable wrench to help loosen the fitting (I unscrewed the gas line in the back where it attaches to the burn pan).
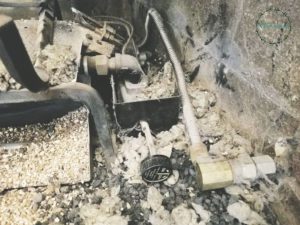
It’s embarrassing how bad my fireplace looked, but with the flames on I never really paid attention!
With the gas line unattached, remove the burn pan.
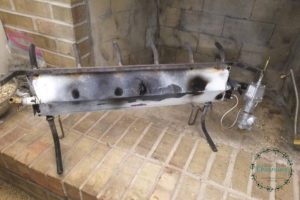
I dumped the sand, vermiculite and old rock wool from the burn pan into the fireplace. This way it didn’t accidentally spill on the floor.

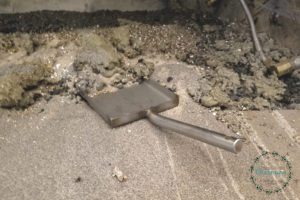
To get the debris out, use a shovel or dust pan. I grabbed a shovel my husband made for our grill and it worked great.
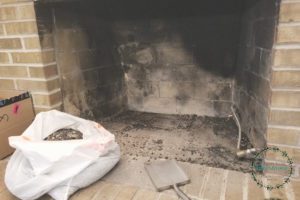
After most of the debris is out, vacuum the rest up with a shop vac.
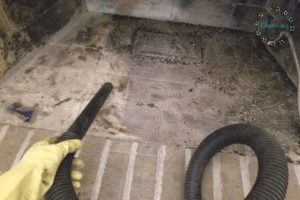

It looks so great now that all the debris is out.
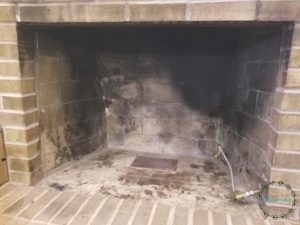
One step down, two more to go. Next week I will continue on with my project and show you how to clean a gas fireplace, removing soot is messy…but worth it! My fireplace looks so amazing…you definitely won’t want to miss this! Have you ever cleaned your fireplace? I would love to hear about it, please comment below.
CHECK OUT HOW TO EMPTY, CLEAN AND FRESHEN UP YOUR GAS FIREPLACE PART 2 HERE
Thanks for checking out my post!

PIN FOR LATER!

Shop for your Fireplace!
