The Best Way To Fold A Fitted Sheet
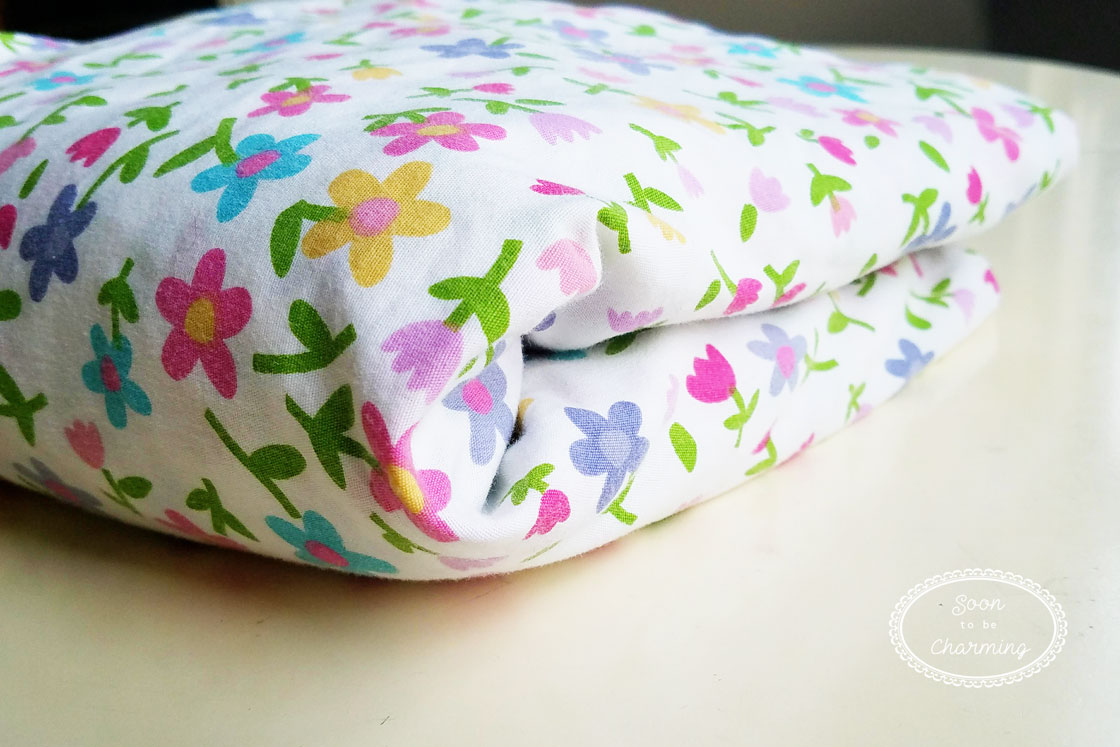
One of the must haves when we moved was storage space. Our last house was built in the early 1900’s and seriously lacked closet and storage space. So when we moved to this house a few years ago, I instantly fell in love with all the closets, especially the linen closet upstairs! However, as my young children have gone from toddler beds to twin beds and now my oldest to a new queen bed…my linen closet is feeling the growing pains.
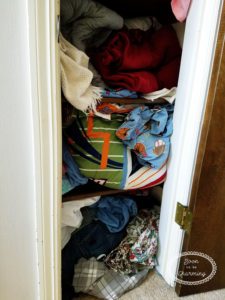
As my kids grew, I didn’t remove anything…I just kept adding more things! Perhaps it was just denial that my kids are getting so big. Either way, I couldn’t ignore this terribly messy closet anymore. I am not joking, I was literally stuffing things on shelves which left a horrible pit in my Type A stomach. Here is the proof!
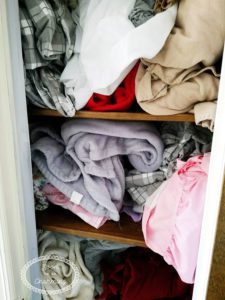
Enough was enough! The closet was plenty big, it just needed a good cleaning. I pulled everything out and was amazed at how many crib sheets were still there. It’s been over a year since my kids have used them!!! Yikes.
Need help? Check out my post on How To Organize A Space
This was a beautiful site! Totally empty.
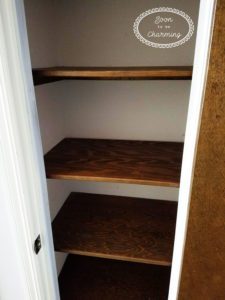
I simply removed all of the items that we no longer needed, which was a lot! As I began organizing and folding all my sheets, it reminded me of how much I love nicely folded sheets and blankets. It also reminded me of my old part time job as a housekeeper.
It was definitely not the most glamorous job; however, I definitely learned to fold a ton of laundry quickly and I can’t lie…I loved walking out of a perfectly clean room!
Folding a fitted sheet was part of the job. Over the years I have realized that not everyone likes to fold fitted sheets. While it is not a crucial life skill, if you like to be organized, it really does come in handy! So here are the steps to get a perfectly folded fitted sheet!

Step 1 Lay the Sheet Out
The corner of a fitted sheet is where all the seems come together. Keep in mind as you fold the sheet, you will be connecting the corners…don’t worry about the fitted edge.

Step 2 Connect the Bottom Corners To the Top Corners
You will want to bring the bottom two corners straight up to corners 1 and 2. Tuck one corner at a time. Then your sheet should be folded in half and look like this.
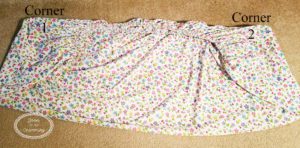
You must lift the fitted edge up, to connect the corner of the sheets.
Step 3 Connect All The Corners Together
Reach underneath the fitted edge until you are holding Corner 1. My fingertips are in the corner where all the seams meet. Then push corner 1 under the fitted edge until it meets corner 2.


This is how your sheet should look with all four corners tucked together. My cat Ramsey was watching too, such interesting stuff I know!
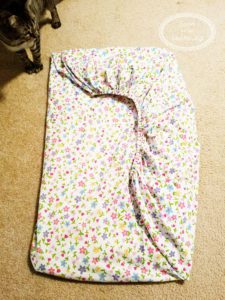
Step 4 Fold In Half
This is finally where you will get a square shape! Fold it in half, keeping the edges straight.
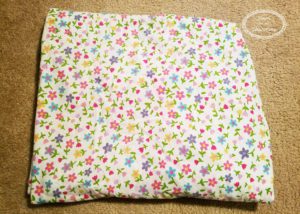
Step 5 Fold In Half Again
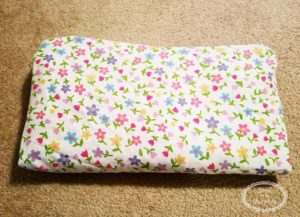
Step 6 (Optional) Fold In Half One Last Time
I prefer my folded sheets smaller, so I like one additional fold. If you like a wider flatter folded sheet you can skip this last fold.
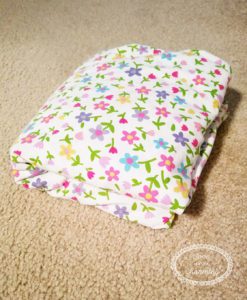
The more you fold fitted sheets, the more you will be able to do it all in your arms without setting it down. It really does only take an extra minute and it will make a big difference in your linen closet!
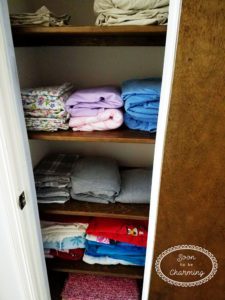
After I removed all the unnecessary items and folded everything…here is my beautifully organized and folded linen closet!
Hope you found this post helpful! Thanks for checking it out and happy organizing!
