How To Make A Dolphin Cake
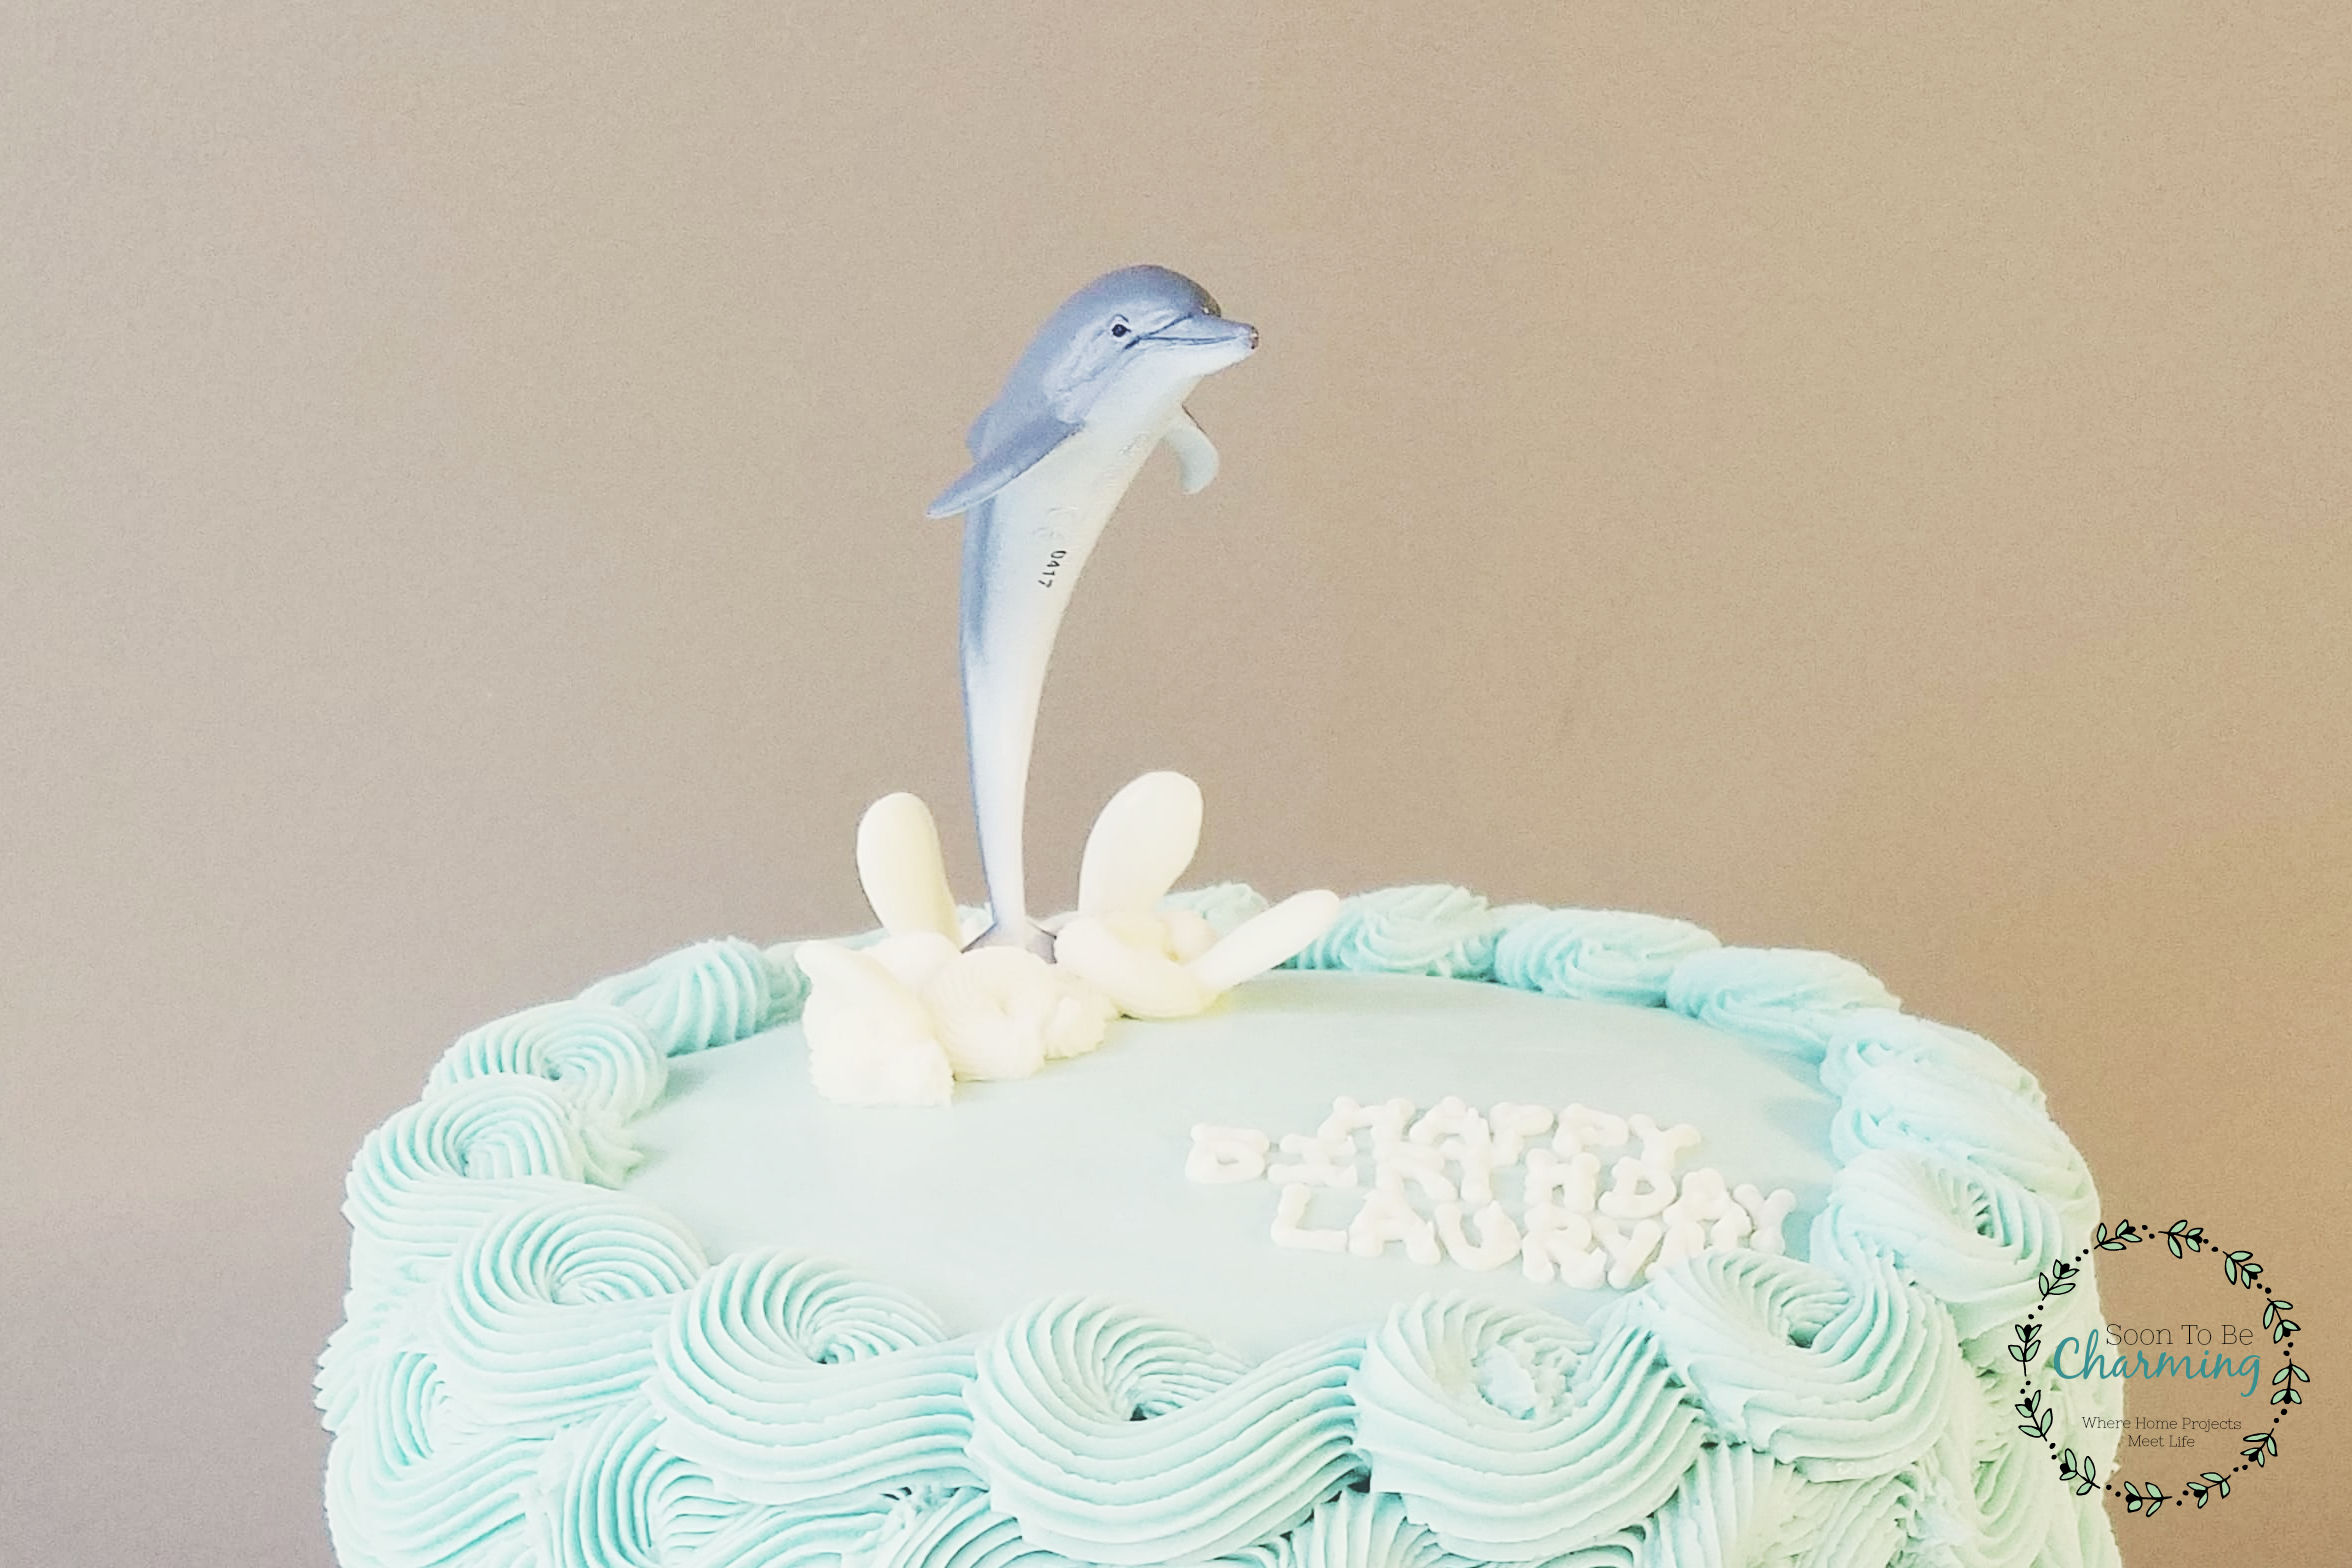
For birthday’s we like to pick out a theme. It is a fun tradition that we treasure. Our kids love going out with me one on one, to get party supplies, and I love taking them! This year my daughter picked out a dolphin party. I thought it would be a good theme, but had no idea that I would love it this much. The highlight was making the cake. The dolphin cake was so fun to make and surprisingly quite easy.
{This post contains affiliate links, which means if you click on or make a purchase from one of my links I may receive a small commission. This comes at no extra cost to you. I appreciate your support!}
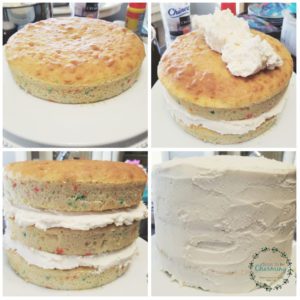
Making The Cake
To make the cakes, I used two boxes of cake mix (mix as directed) and then place them into three 9″ round cake pans. Instead of using a knife to level my cakes, which I normally do, my friend bought me these amazing Wilton Cake Strips. I love them and they saved me a lot of time!
No cake is complete without delicious frosting! For the frosting, I always whip up a homemade buttercream. You can find the recipe in this post Here.
The Waves
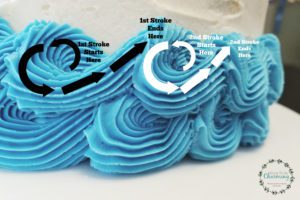
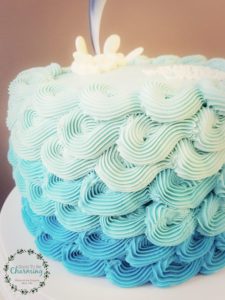
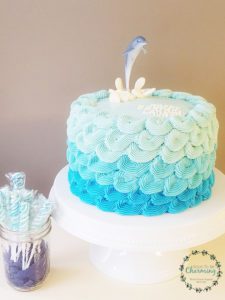
For the waves, it is a simple piping technique. I purchased this Wilton Cupcake Decorating Kit (which I love for cupcakes and cakes!) and used the large tip 4B. I used a royal blue icing color to create dark, medium and light blue colors for the waves.
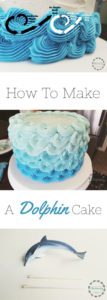
To make the waves, see the picture below. The key is to overlap your strokes to prevent gaps.
After two rounds of dark blue waves, I then continued with the medium blue waves.
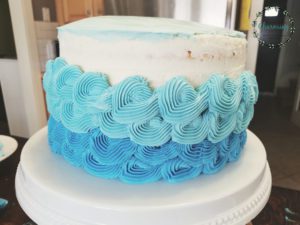
Before finishing the waves, frost the top of your cake smooth with the light blue frosting.
Then continue with the light blue frosting to complete your waves!
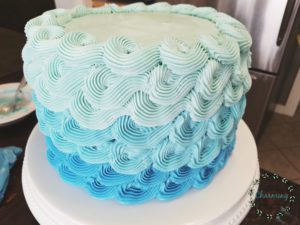
Now your cake is ready for a splash!
Creating A Splash
To create a place for the dolphin to jump out of, I thought it would be fun to add a 3D dimension. So I started by melting white chocolate chips.
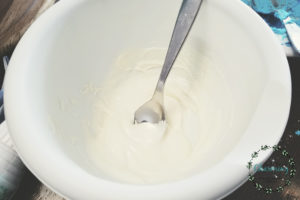
I poured the melted chocolate into a ziploc bag, but first snipped the corner to make it like a frosting bag. I laid out some wax paper and drizzled the melted chocolate to create “splashes.”
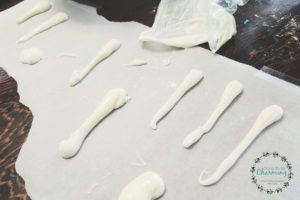
I let them cool in the fridge for about 10 minutes or until they were hard. Once ready, I just set them aside until I was ready to place them in the cake.
The Dolphin
Now the star of the cake, the dolphin! I am not a sculptor….so trying to sculpt a dolphin out of fondant was not something I wanted to try. I found the perfect dolphin toy on Amazon. It came with prime shipping and took a lot of stress off making the cake. Plus now my daughter has a dolphin toy to play with…win,win!
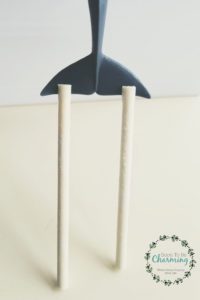
To mount the dolphin, we took a tall paper cake pop stick (it was solid in the middle, not hallow) and cut it in half.
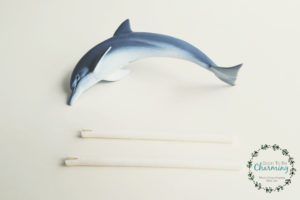
Then serrated the ends about a 1/4 inch deep to slide onto the dolphins tail.

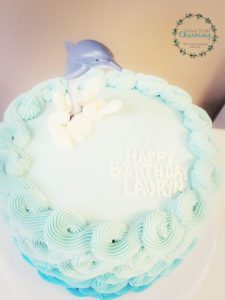
Right before I stuck the dolphin into the cake, I made a few white waves on top of the cake. Then placed the dolphin in and the sticks held the dolphin upright!
Once the dolphin was in, I added my white chocolate splashes to complete the look. It made it look like real water was splashing up!
The Dolphin Cake!
I loved this dolphin cake and hope you do too! Here is the final product!!
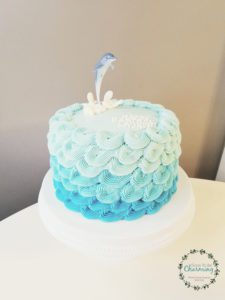
Love decorating cakes? Would love to see another cake tutorial? Let me know what you would love to see below! Thanks for checking out my post!


i love cake
I can’t wait to make this! Where did you get the suckers in the last picture?
Hi Sue! I bought the suckers at Party City. It is a fun cake to make, have fun!
Totally in love for this cake !!
Thank you Laetoun! It really is a fun cake to make.