The Best Way To Organize School Papers
Organizing school papers is one of those projects I have always wanted to do, but for some reason or another I never get to it. The weekly papers I can manage, but all the projects and artwork I want to save long term….well that’s another story. In all honesty, without a system in place what is the chance of actually keeping papers organized. Yeah, not real high. Then in the same breath I wonder why it’s so hard to keep papers organized! Funny, isn’t it. I think deep down I was hoping little paper fairies would come and put the papers nicely into organized bins.
{This post contains affiliate links, which means I may receive a commission if you click a link and/or purchase}

Spoiler alert….they never come. So no matter how much I hated this large box of papers, until I figured out a system for organizing school papers, they were going to stay sitting right there.
Organizing System
Pinterest always has these beautifully organized systems, some use binders and some use file bins. After looking at a lot of different samples, I chose to use file bins. Overall, I felt that they would fit the larger artwork better. This is not an original system by any means, but here we go!
1) Start By Organizing Papers
A few weeks ago, my son and I started organizing school papers on the ping pong table. My son loves to organize as much as I do, bonus!! (disregard the unfinished walls…we are working on it!)
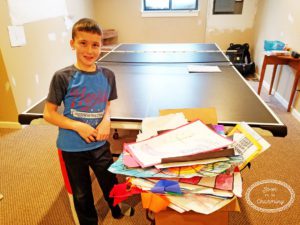
First, we sorted the papers into three piles, one for each kid.

Then we went through each child’s papers and sorted them down by grade.
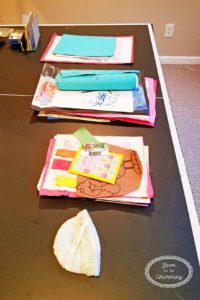
Important Tip!! Before you store papers, write the name of the child and grade on each of them. Going through papers years later, it was so hard to figure out if it was made in Preschool, Pre-K, or Kindergarten.
2) Purchase Supplies
As I mentioned above, I decided to use file bins to organize the kids papers. After looking around at several places I found the best deals on Amazon!
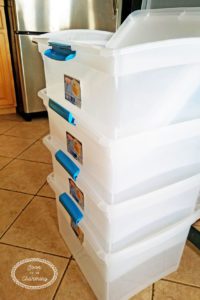
I loved these clear file boxes and they have a hinge top which makes it really easy to open. One note is they are not flat on the top, so if you need to stack them, these wouldn’t work.
Click on the Image or Link to check it out!
STERILITE FILE BOX *UPDATE: The exact bins I purchased are no longer available, but I found a similar one here. Plus they are flat on top…better for stacking!
I was so ecstatic when my boxes arrived! It was a 4 pack, I only need three for my kids school papers…but I am sure I can find something to do with the 4th.
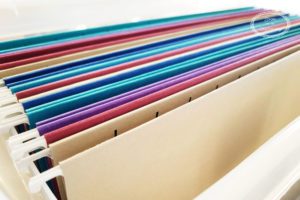
Now to find hanging folders! Did you know that there is a whole world of colorful hanging file folders???? One time I saw a post on Pinterest with teal hanging folders and I think my mouth dropped! So with this project, I was bound and determined to find some fun colorful hanging folders for these bins. I fell in love with these jewel toned legal sized folders.
Click on the Image or Link to check it out!
PENDAFLEX HANGING FILE FOLDERS
In person, I loved the colors just as much as I did online. For my son, I will just take out the purple and ruby folders.

My girls love rainbows…so I will use all the colors for them. The front folder is actually gray (it looks tan in the picture).
3) Create/Print Cover Sheet
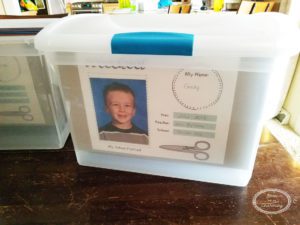
I needed to create a cover sheet to go on all the folders. The cover sheet will specify what grade the folder is for and any other information you want to add. PicMonkey was the site where I created these cover sheets. The website is so easy to use and it allowed me to keep moving things around until it was exactly what I wanted! I have to admit, I really like them!!
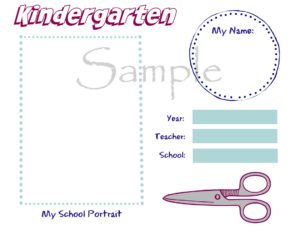
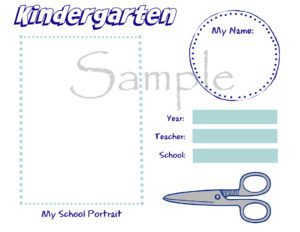
I liked them so much, I put a bundle together for you to have too!! All the cover sheets preschool through 12th grade are included. Getting organized has never been easier!
CLICK HERE FOR THE SCHOOL ORGANIZING COVER SHEETS!
4) Fill in Cover Sheets
This is why I needed to organize the kids papers. I am already losing school pictures and my son is only in 3rd grade! I seriously couldn’t find his picture from last year.
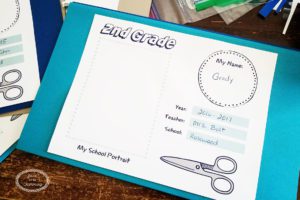
The rest are so adorable!!

For my daughter, we started buying smaller school pictures. She had a little more space, but it still looked great! And Lauryn will be all set next year when she start’s Kindergarten! It will be so nice already having a bin to put her artwork and papers in.
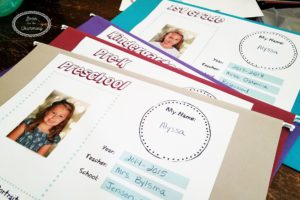
Now the cover sheets are all set!
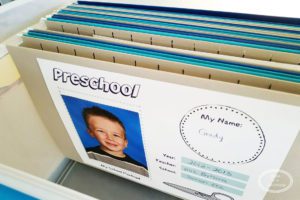
5) Make Tabs
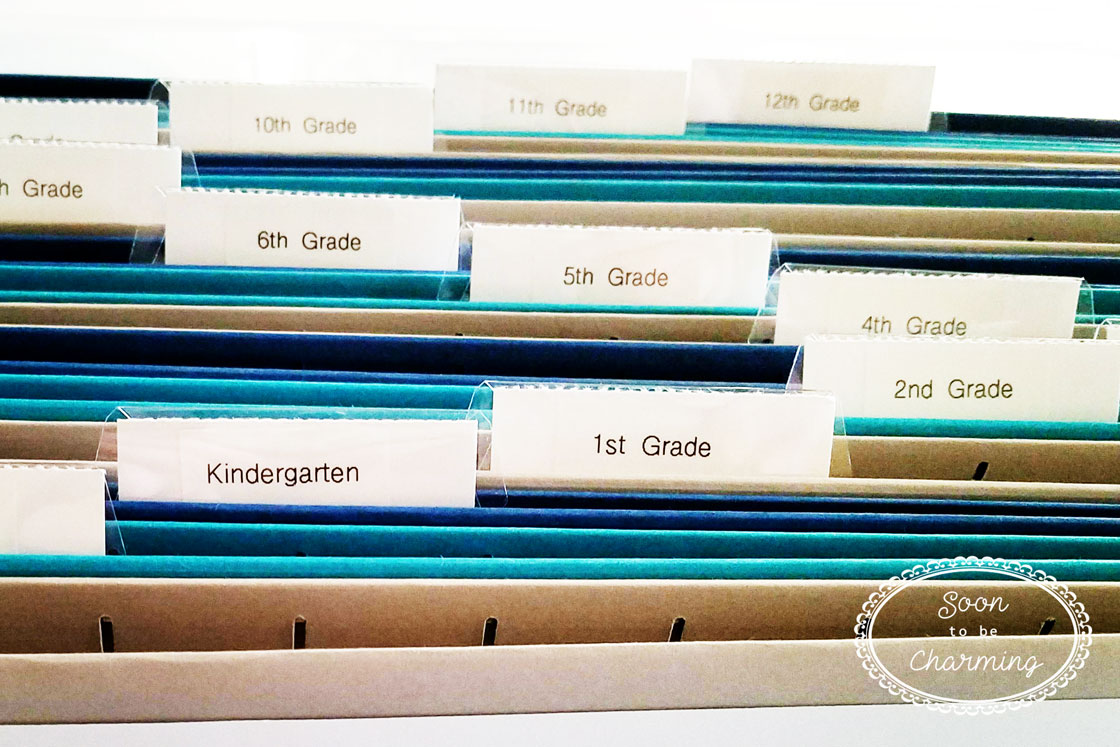
The cover sheets are not all visible hanging in the file box, so you will still want to make tabs.

I used my label maker to print out labels for each grade and put them on the clear tabs that came with the hanging folders.
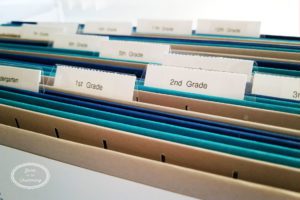
I printed off three labels of each grade at a time, so I was set for all three bins.
6) Add Papers
The final step, add papers!!!! Having the papers already sorted helped move this step along quickly.
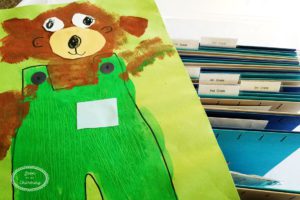
All the larger artwork I folded in half, so it would fit in the bin.
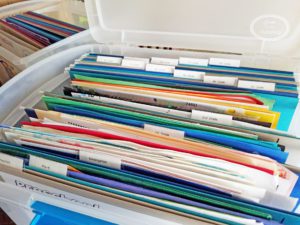
Amazing!! The school papers are finally organized. I am so excited to have that big brown box empty!!!!!
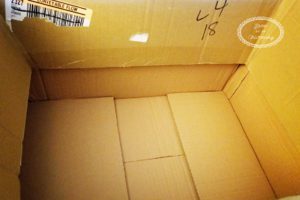
What a huge project to check off!!!
Hope you feel inspired to tackle your paper piles after watching my organizing journey! Thanks for checking out my post!



Hi! I signed up but I’m not getting the pintable’s emailed to me either. I even registered 2 different email addresses but neither one worked. Would you mind re-sending them to me also?
Thank you!
Hi McKenzie! Of course! So sorry for the trouble and I apologize for the delayed response I was camping in a tent all weekend! Thanks Amy
i signed up but cant open link for the school organizing files??
Hi Lissa,
I am so sorry it didn’t work. I e-mailed you another link and password to get the printables. If you don’t see my e-mail, check your spam folders. Thanks again for letting me know!