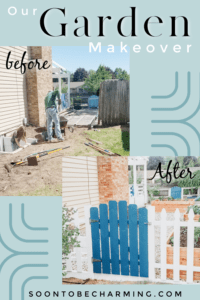
Our Garden Makeover
I love gardening! When we moved into our current home almost 7 years ago (I can’t believe it’s been that long!), there was already a garden space fenced off. However, it was knee deep in weeds. It was August when we moved in, so the following summer I was excited to clean out the garden and get things planted. I was a little naive with how much work it would take. After hours and hours of weeding, everything was cleaned out. The garden already had two raised beds and then to plant a little more, I tilled up a small garden bed in the ground. The veggies were planted! This was the first step in our garden makeover.
This post contains affiliate links, which means if you click on or make a purchase, I may receive a small commission at no extra cost to you. I always appreciate your support.
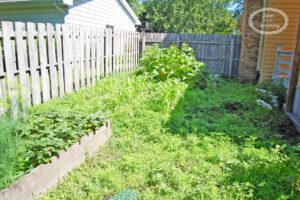
Instantly, the entire garden filled up with weeds again! I could hardly see the vegetables I planted. Plus every time I walked in, I brushed up against some itch weed and broke out in a rash. I looked at my husband and said, we are getting rock! Keeping up with the weeding was almost impossible. I weeded for 5 hours after this picture was taken, and that was not going to happen again! In came the landscape fabric and rock to the rescue. You can see all of those steps in the post HERE.
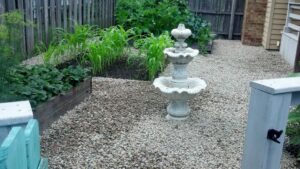
The garden looked so much better and was now manageable to take care of! However, it lacked a dripline system and the raised beds were beginning to break down. Remember the raised beds were here when we moved in, so they were already old. We managed for several years with this existing layout. Two years ago, the large square bed in the back (which was 8 x 8) fell apart to the point where I couldn’t plant anything in it. The rotten wood was attracting bugs and it needed to be removed.
Next Step, Dream Garden Makeover
I had always dreamed of raised cedar beds. I love gardening, but I like it to be easy and weeding to be at a minimum. Raised beds, in my mind, deliver on both of that. Last year I didn’t plant much of a garden because we were planning to begin our makeover, but things got pushed back and I wasn’t able to start until late spring of this year.
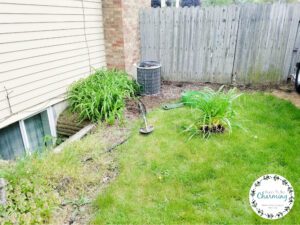
The goal was to expand the garden as well as redo it. On the other side of the fence (from the garden view) was a patch of grass and the egress window, so the space was not really useable. A tall fence divided the spaces, so there was little reason to go over on that side of the house, except to weed.
Click HERE to see the new DIY Egress Well we just completed!
Garden Design
Another reason to expand the garden, was to give us a pretty view out from the basement and some privacy. I sketched out the new garden plans and finalized what size garden beds I wanted to build.
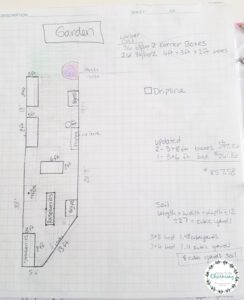
I decided on two 3 x 8 ft beds and one 3 x 6 ft bed. Eventually I will build another 3 x 8 ft bed to replant the strawberries in, but for now, we didn’t’ want to spend the extra money. Also the strawberries can’t be transplanted right now either. It just worked better to build that bed later on.
Building Raised Cedar Beds
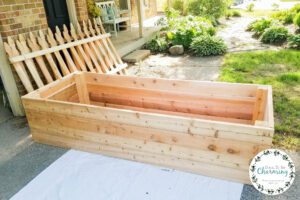
This is a project that I wanted to tackle myself. My husband taught me how to use the miter saw and I cut all the boards myself! I screwed most of them together as well. I did have my husband jump in and help, just to save us some time. He definitely works faster than me. However, I was excited that for the most part I did everything myself.
As far as all the details, I will create a separate post on how I made all the raised garden beds! I want to get into all the specifics and just don’t have enough space here to do it. I promise to have that to you soon.
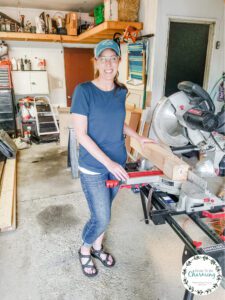
The beds are gorgeous and the smell of cut cedar is amazing!
Expanding The Garden
It was amazing how open this side of the house was with the fence taken down! It was an instant change.
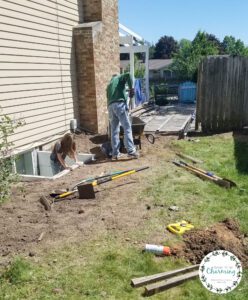
However, after opening the fence up we realized the ground slanted up towards the neighbors driveway. We would need to remove some sod for our garden to be level and have it transition to the old part seamlessly.
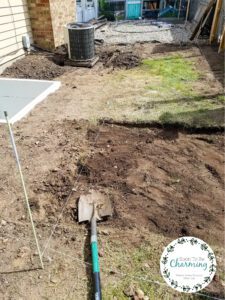
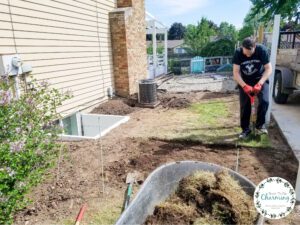
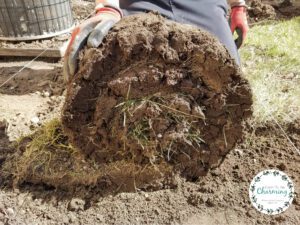
Removing sod is not a very fun job, but we found a good rhythm. My husband would edge a line and then we would skim the surface and roll up the sod. It actually worked really well!
![]()
It was hot outside and a very dirty job, but we did it! Next we loosened the dirt up with a shovel, so it was easier to smooth out.
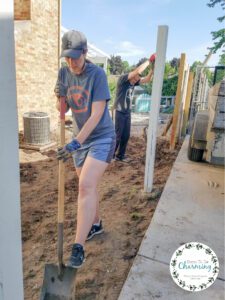
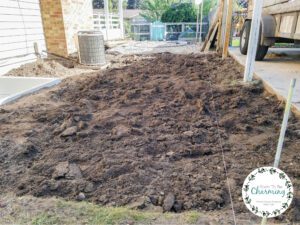
Now to smooth the dirt out and try to get it as level as possible. Remember it is a garden, so it doesn’t have to be perfect.
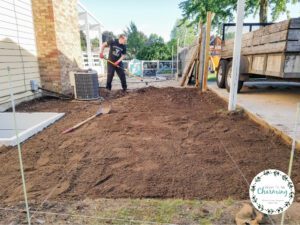
Finally, we are ready to lay the landscape fabric.
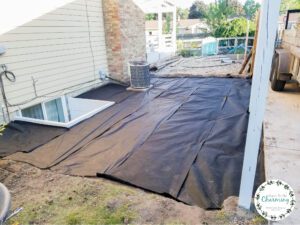
Having the landscape fabric down looked so good to me, like we were almost there! It created a neat and tidy look, which was far from where it had been a few days ago.
Placing The Raised Beds
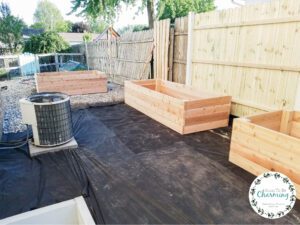
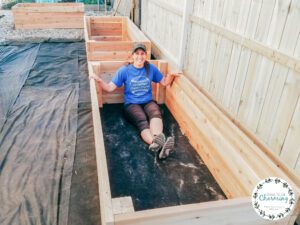
It was time to bring over the cedar raised beds. The 3 x 6 ft bed was light enough for my husband and I to carry, but my cousin came over to help carry in the 3 x 8 ft beds. The large beds were pretty heavy! We made sure the beds were level and once they were, it was time to start shoveling rocks.
Time To Start Shoveling
We spent a day shoveling rocks. My husband was shoveling and I was spreading. It is one of those things you just get through.
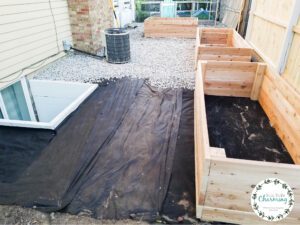
Getting so close.
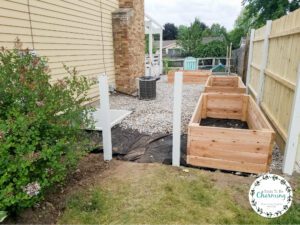
Once we finished the rock, then we could shovel soil! Oh joy!
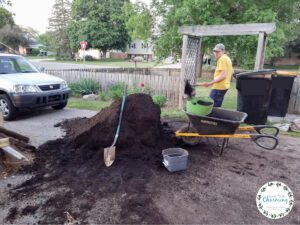
Total, we shoveled about 3 yards of rock and 4 yards of soil. It was exhausting, but the excitement of being able to plant my veggies was starting to take over.
Time To Plant My Garden
It was finally time to plant! The stores were slightly picked over since I was late to planting, but I still managed to fill my beds. We also installed driplines in our garden and I will have a separate post going over those details as well! Each bed has it’s own shut off valve, I absolutely love having a proper dripline system.
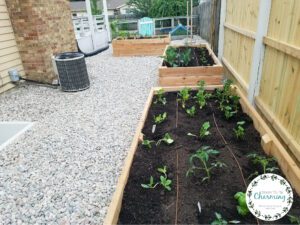
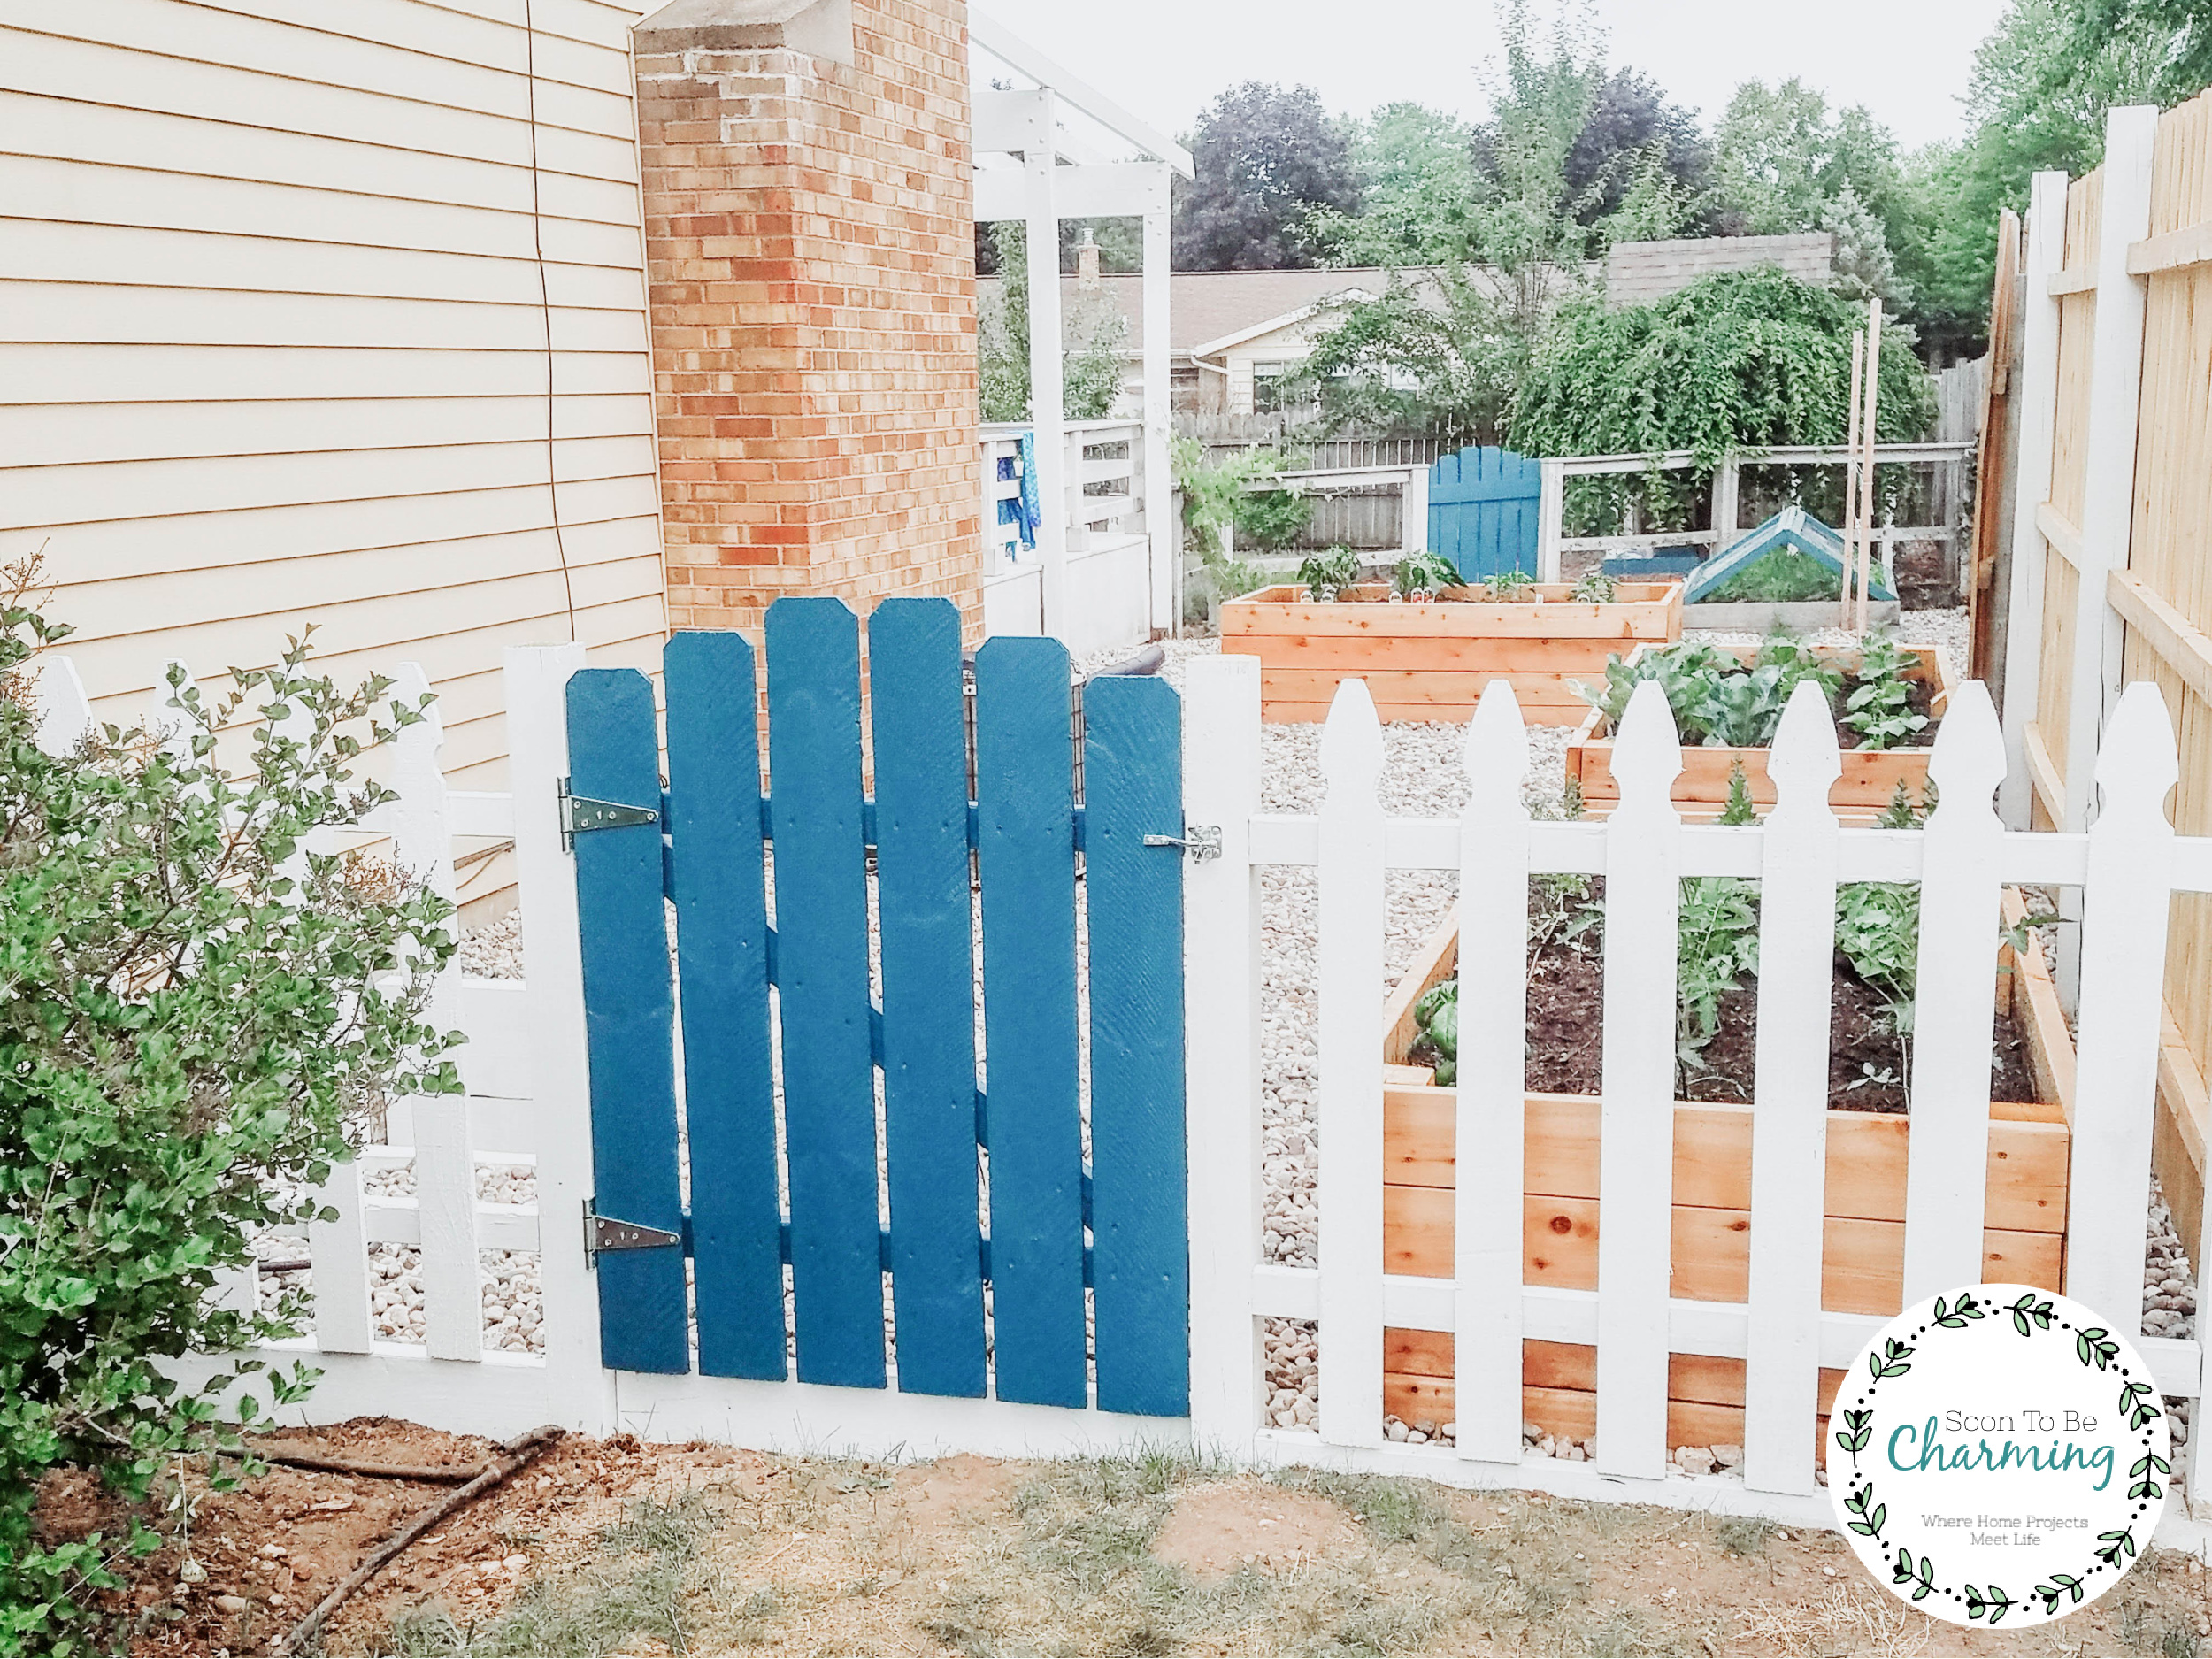
Our Garden Makeover
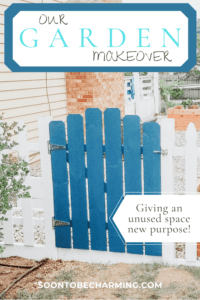
I can’t believe all the hard work is finally over. The garden makeover and expansion turned out even better than I had imagined. The garden will be easy to manage and now I can truly enjoy it. Plus what garden isn’t complete without a fun and colorful garden gate.
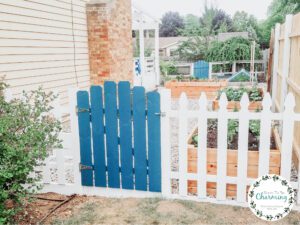
I hope you enjoyed our garden makeover! The best part is we reclaimed a side of the yard that was never used and gave it new purpose! I hope it inspires you to do the same. Thanks for checking out my post!
