Simple DIY Christmas Sign
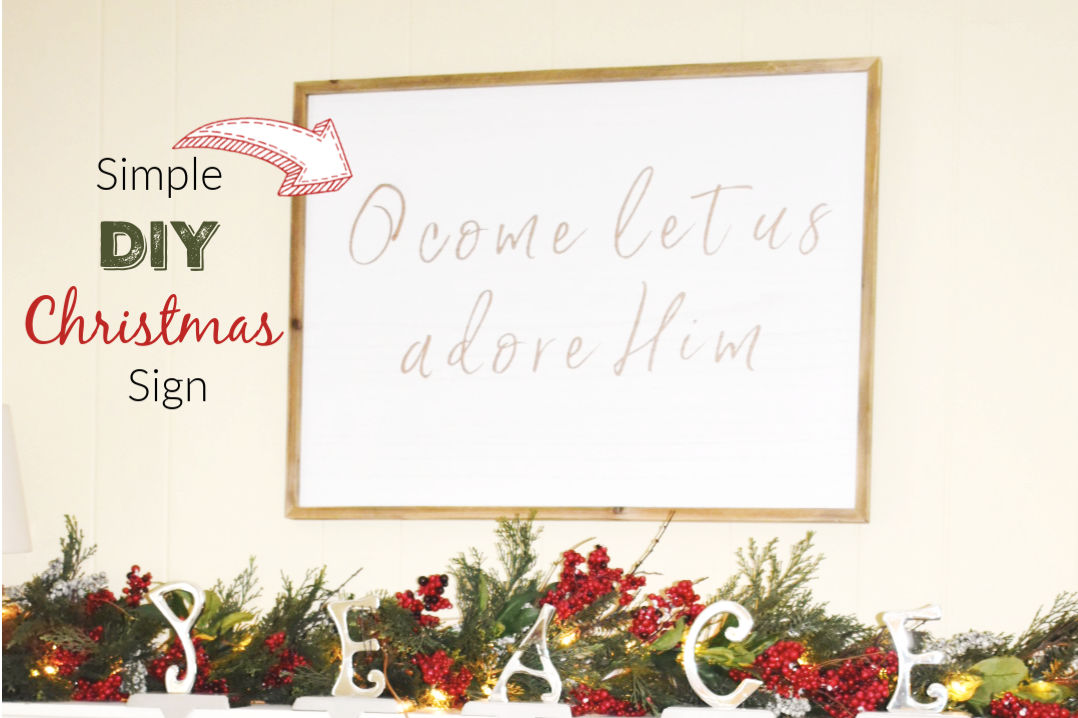
Christmas music has a way of filling your home with warmth this time of year. I love to sit in front of the fireplace (in my newly refinished chairs) working on my blog and listening to christmas music. My fireplace is the main focal point of my dining room and I wanted to do something new on my mantel this year.
The last three years, I had done the same thing and felt like it was time to mix it up. I have a lighted garland that fit perfectly on the mantel, but I needed a christmas sign.
I began looking on Etsy and found some beautiful signs…but for the size they were $50-$100! Way above what I wanted to spend. I really wanted to just buy something and be done with it, but I couldn’t justify spending that much. I also didn’t have the time to fuss around with a huge time consuming sign project. So to keep the cost low, I had to find a compromise somewhere in the middle and landed on this simple DIY Christmas Sign. It was so easy and looks fantastic above my mantel!
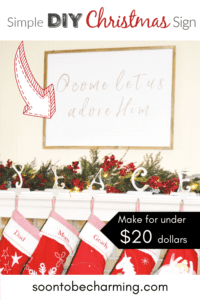
DIY Christmas Sign
To start, I bought a pre-made frame at Hobby Lobby. It was 40% off of 28.99…so only around $18. The sign came with the whitewashed background and frame ready to go.
Then printed off the words I wanted to add. I created them in PicMonkey…but you could do the same thing in word if you have a font that you like. It is important to print the words off, so you can see if the size is right for your sign and figure out the spacing.

To make sure my words were level…I grabbed a yard stick and measured! I marked the middle and then drew lines where I wanted the words to be. It is important to take a few extra minutes here to make sure your sign turns out later.
Using a brush font, like I did, does make it a little harder to level. The letters don’t all line up evenly…but I made it work.

Adding The Words
Grab a sheet protector when you are ready to add the words to your sign. Cut off the 3 hole edge, so it will fit into your printer tray.

Place the sheet protector in the tray and print the words in mirror image. *You must print words with an inkjet printer.
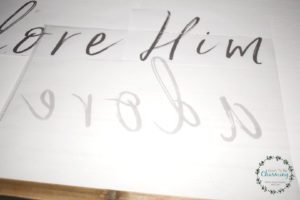
Then flip the word over and place it on the sign exactly where it needs to go. Do not slide the sheet around on your surface. The sheet protectors are clear, so it makes it really easy to line your words up.
Then tape your word down and use a gift card or bank card to rub the ink. This will transfer the ink to your sign.
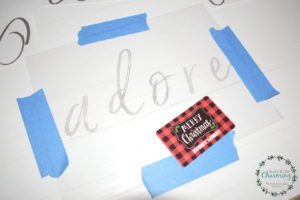
Repeat this process until all the words have been transferred to your sign.
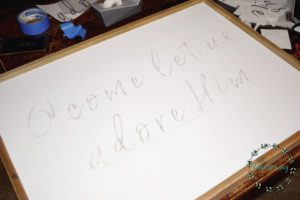
Filling In The Words
To complete your simple DIY Christmas Sign, you will need to fill in the words. I choose a metallic sharpie and it worked perfectly! I wanted my sign to have copper or bronze like letters.

It took me about twenty minutes and my words were all filled in!

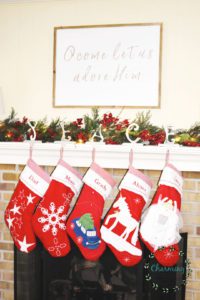
The instant you walk into my living room or kitchen, your eyes are drawn to my mantel. I love the simplicity of this sign…it really does stand out. Plus, I love having something fresh on my fireplace for Christmas. Every now and again it feels great to mix things up. Plus, this process will be perfect for any sign, in any season, that you want to make! The possibilities are endless and the price it right.


CLICK HERE TO DOWNLOAD
WORDS FOR YOUR DIY SIGN!
Thanks so much for checking out my post. Merry Christmas!
